前言
前一段时间做了一个项目,需要解决中文、繁体、英文的国际化问题,所以本文将详细介绍springboot页面国际化配置的过程
方法如下
1.引入依赖pom.xml
|
1 2 3 4 5 6 7 8 |
<dependency> <groupId>org.springframework.boot</groupId> <artifactId>spring-boot-starter-web</artifactId> </dependency> <dependency> <groupId>org.springframework.boot</groupId> <artifactId>spring-boot-starter-thymeleaf</artifactId> </dependency> |
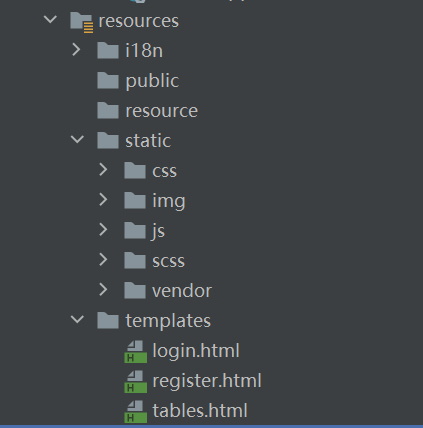
2.导入网页资源,这里给大家推荐一个我自己在使用的页面资源,SB ADMIN-2
html页面放在templates目录下,这是thymeleaf默认的解析目录,其他的样式文件放在static目录下
3.接管spring Mvc,自定义url访问路径,可做可不做
建一个config目录,在这里建一个myWebMvcConfig
|
1 2 3 4 5 6 7 8 9 10 11 12 13 14 15 16 17 |
import org.springframework.context.annotation.Bean; import org.springframework.context.annotation.Configuration; import org.springframework.web.servlet.LocaleResolver; import org.springframework.web.servlet.config.annotation.ViewControllerRegistry; import org.springframework.web.servlet.config.annotation.WebMvcConfigurer;
@Configuration public class myWebMvcConfig implements WebMvcConfigurer { @Override public void addViewControllers(ViewControllerRegistry registry) {
registry.addViewController("/wq").setViewName("register");//localhost:8080/wq registry.addViewController("/").setViewName("register");//localhpst:8080/ registry.addViewController("/register.html").setViewName("register"); //localhost:8080/register.html } } |
路径可以设置多个,这样只要是这三个url,spring 都会访问register.html
还有一种方式也能实现
|
1 2 3 4 5 6 7 8 9 10 |
import org.springframework.stereotype.Controller; import org.springframework.web.bind.annotation.RequestMapping;
@Controller public class demoController { @RequestMapping({"/","/wq"}) public String test(){ return "register"; } } |
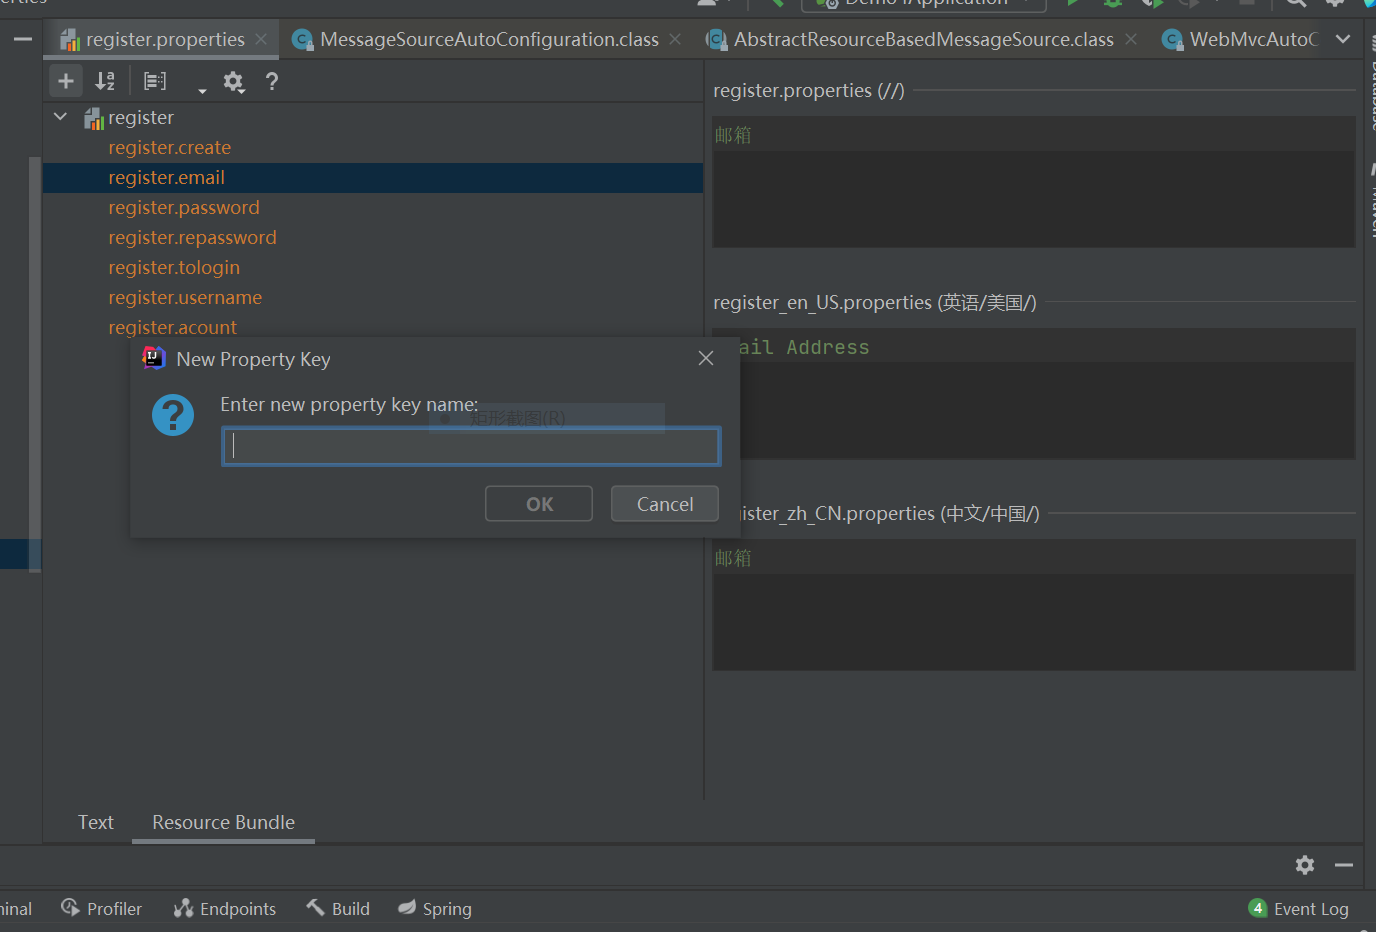
4.国际化配置文件:en_US英文,zh_CN中文
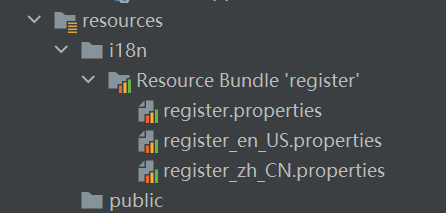
点击左上角加号,便可以添加配置的属性,只要在右边填写相应的中英文即可
5. 配置文件已经写好,如何在我们的页面中使用呢?thyme leaf的作用又来了
首先在你的网页添加这样的头部
|
1 |
<html lang="en" xmlns:th="http://www.thymeleaf.org"> |
在所有的html属性前加**th:**就被thymeleaf接管了,根据thymeleaf 语法,获取国际化值使用**#{}**,本地值用**${}**,url用**@{}**
|
1 2 |
<a th:href="@{/register.html(l='zh_CN')}" rel="external nofollow" >中文 </a> <a th:href="@{/register.html(l='en_US')}" rel="external nofollow" >English </a> |
6. 页面和配置文件都准备好了,怎样实现跳转呢?
在WebMvcAutoConfiguration.class中
|
1 2 3 4 5 6 7 8 9 10 11 12 13 |
@Bean @ConditionalOnMissingBean( name = {"localeResolver"} ) public LocaleResolver localeResolver() { if (this.webProperties.getLocaleResolver() == org.springframework.boot.autoconfigure.web.WebProperties.LocaleResolver.FIXED) { return new FixedLocaleResolver(this.webProperties.getLocale()); } else { AcceptHeaderLocaleResolver localeResolver = new AcceptHeaderLocaleResolver(); localeResolver.setDefaultLocale(this.webProperties.getLocale()); return localeResolver; } } |
我们再找到AcceptHeaderLocaleResolver.class,发现它实现了LocaleResolver
|
1 2 3 4 |
public class AcceptHeaderLocaleResolver implements LocaleResolver { private final List<Locale> supportedLocales = new ArrayList(4); @Nullable private Locale defaultLocale; |
那我们就编写自己的LocaleResolver
|
1 2 3 4 5 6 7 8 9 10 11 12 13 14 15 16 17 18 19 |
public class myLocaleResolver implements LocaleResolver { @Override public Locale resolveLocale(HttpServletRequest request) {
String mylocale=request.getParameter("l"); Locale locale=Locale.getDefault(); if(!StringUtils.isEmpty(mylocale)){ String[] split=mylocale.split("_"); locale=new Locale(split[0],split[1]); } System.out.println("debug====>"+mylocale); return locale; }
@Override public void setLocale(HttpServletRequest request, HttpServletResponse response, Locale locale) {
} } |
然后在spring配置中注入myLocaleResolver
|
1 2 3 4 5 |
@Bean public LocaleResolver localeResolver(){ return new myLocaleResolver();
} |
**注意:方法名必须是localeResolver**,**因为源码中名字为localeResolver的bean**

7. 最后我们来测试一下
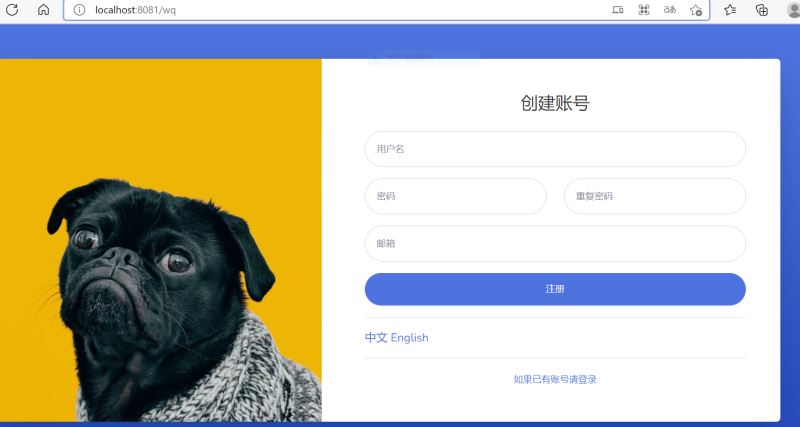
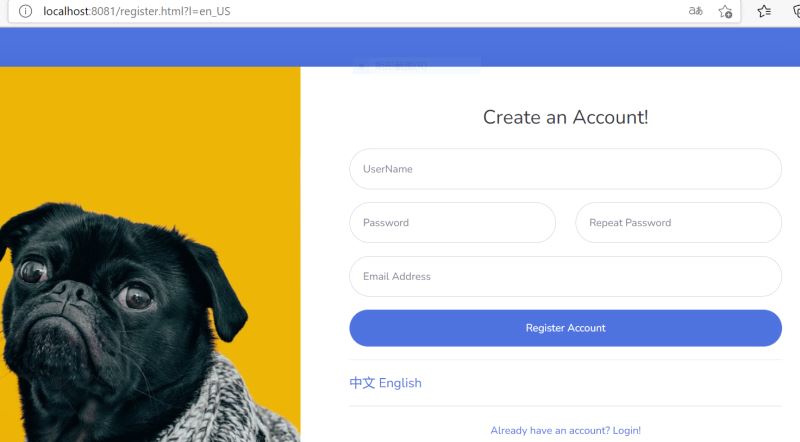
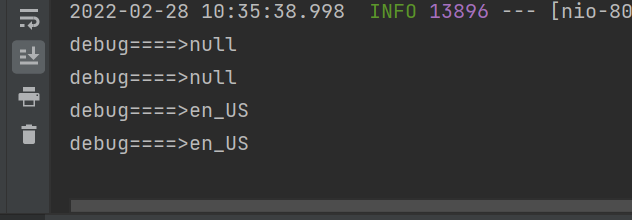
而且控制台输出也没问题