接上一篇写的截取电脑屏幕,我们在原来的基础上加一个选择区域的功能,实现自定义选择截图。
个人比较懒,上一篇的代码就不重新设计了,就简单改一下呈现方式。
不得不吐槽一下,在windows10系统上设置了放大比例的话,用这种方式来实现截图功能的话需要去计算比例。后面有机会的话,用第三方DLL再实现一次。
实现功能
屏幕选择区域截图
开发环境
开发工具:Visual Studio 2013
.NET Framework版本:4.5
实现代码
|
1 2 3 4 5 6 |
//将上一篇的内容改成以下内容 // pictureBox1.Image = bmp; Form2 frm = new Form2(); frm.BaseImage = bmp; frm.TopMost = true; frm.Show(); |
|
1 2 3 4 5 6 7 8 9 10 11 12 13 14 15 16 17 18 19 20 21 22 23 24 25 26 27 28 29 30 31 32 33 34 35 36 37 38 39 40 41 42 43 44 45 46 47 48 49 50 51 52 53 54 55 56 57 58 59 60 61 62 63 64 65 66 67 68 69 70 71 72 73 74 75 76 77 78 79 80 81 82 83 84 85 86 87 88 89 90 91 92 93 94 95 96 97 98 99 100 101 102 103 104 105 106 107 108 109 110 111 112 113 114 115 116 117 118 119 120 121 122 123 124 125 126 127 128 129 130 131 132 133 134 135 136 137 138 139 140 141 142 143 144 145 146 147 148 |
/*Form2代码*/ #region Dll引用 [DllImport("User32.dll", EntryPoint = "GetDC")] private extern static IntPtr GetDC(IntPtr hWnd);
[DllImport("User32.dll", EntryPoint = "ReleaseDC")] private extern static int ReleaseDC(IntPtr hWnd, IntPtr hDC);
[DllImport("gdi32.dll")] public static extern int GetDeviceCaps(IntPtr hdc, int nIndex);
[DllImport("User32.dll")] public static extern int GetSystemMetrics(int hWnd);
const int DESKTOPVERTRES = 117; const int DESKTOPHORZRES = 118;
const int SM_CXSCREEN = 0; const int SM_CYSCREEN = 1;
#endregion
//<summary> //获取DPI缩放比例 //</summary> //<param name="dpiscalex"></param> //<param name="dpiscaley"></param> public static void GetDPIScale(ref float dpiscalex, ref float dpiscaley) { int x = GetSystemMetrics(SM_CXSCREEN); int y = GetSystemMetrics(SM_CYSCREEN); IntPtr hdc = GetDC(IntPtr.Zero); int w = GetDeviceCaps(hdc, DESKTOPHORZRES); int h = GetDeviceCaps(hdc, DESKTOPVERTRES); ReleaseDC(IntPtr.Zero, hdc); dpiscalex = (float)w / x; dpiscaley = (float)h / y; }
public Bitmap BaseImage { get; set; }
Graphics picGraphics; //记录鼠标开始截图的位置 int startX = 0, startY = 0; //记录鼠标结束截图的位置 int endX = 0, endY = 0; //记录DPI缩放比例 float x = 0f, y = 0f; public Form2() { InitializeComponent(); } private void Form2_Load(object sender, EventArgs e) { /* 初始化赋值*/
GetDPIScale(ref x, ref y); picGraphics = pictureBox1.CreateGraphics(); }
private void pictureBox1_Paint(object sender, PaintEventArgs e) { DrawRect(endX - startX, endY - startY,e.Graphics); }
private void Form2_KeyPress(object sender, KeyPressEventArgs e) { //按下esc退出 if (e.KeyChar == 27) { this.Close(); } }
//完成截图 private void lbSucess_Click(object sender, EventArgs e) { int clip_w = (int)((endX - startX) * x) - 4, clip_h = (int)((endY - startY) * y) - 4; if (clip_w < 1 || clip_h < 1) { return; } //获取截图 Bitmap clipBmp = new Bitmap(clip_w, clip_h); Graphics g = Graphics.FromImage(clipBmp); g.CopyFromScreen((int)(startX * x) + 2, (int)(startY * y) + 2, 0, 0, new Size(clip_w, clip_h), CopyPixelOperation.SourceCopy); //将截图设置到剪切板 Clipboard.SetImage(clipBmp); g.Dispose(); this.Close(); }
private void pictureBox1_MouseDown(object sender, MouseEventArgs e) { //隐藏操作面板 panel1.Visible = false; //记录鼠标开始截图的位置 if (e.Button == MouseButtons.Left) { startX = e.X; startY = e.Y; endX = 0; endY = 0; } }
private void pictureBox1_MouseMove(object sender, MouseEventArgs e) { if (e.Button == MouseButtons.Left) { //绘制截图区域 DrawRect(e.X - startX, e.Y - startY, picGraphics); } }
private void pictureBox1_MouseUp(object sender, MouseEventArgs e) { //截图完成 if (e.Button == MouseButtons.Left) { endX = e.X; endY = e.Y;
DrawRect(endX - startX, endY - startY, picGraphics); if (endX > startX && endY > startY) { //显示操作面板 Thread.Sleep(100); panel1.Location = new Point(e.X - panel1.Width, e.Y + 5); panel1.Visible = true;
} } }
//绘制截图区域 private void DrawRect(int w, int h,Graphics g) { Bitmap img = (Bitmap)BaseImage.Clone();
//双缓冲技术画矩形,防止重影和抖动 Graphics Painter = Graphics.FromImage(img); Painter.DrawRectangle(new Pen(Color.Red), startX * x, startY * y, w * x, h * y); g.DrawImage(img, 0, 0, img.Width / x, img.Height / y);
Painter.Dispose(); img.Dispose(); } |
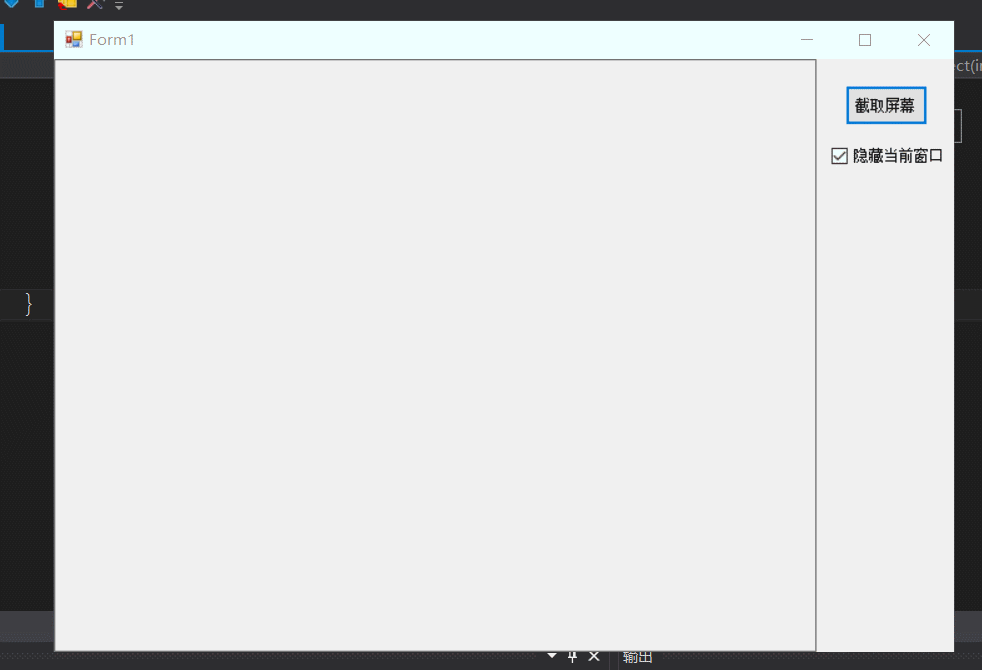
实现效果
我这边演示代码很少做异常处理(前面也是,后面也是,毕竟不是做项目为主),大家使用的时候根据情况自行处理下即可,亦或者可能会有内存未及时释放的情况。