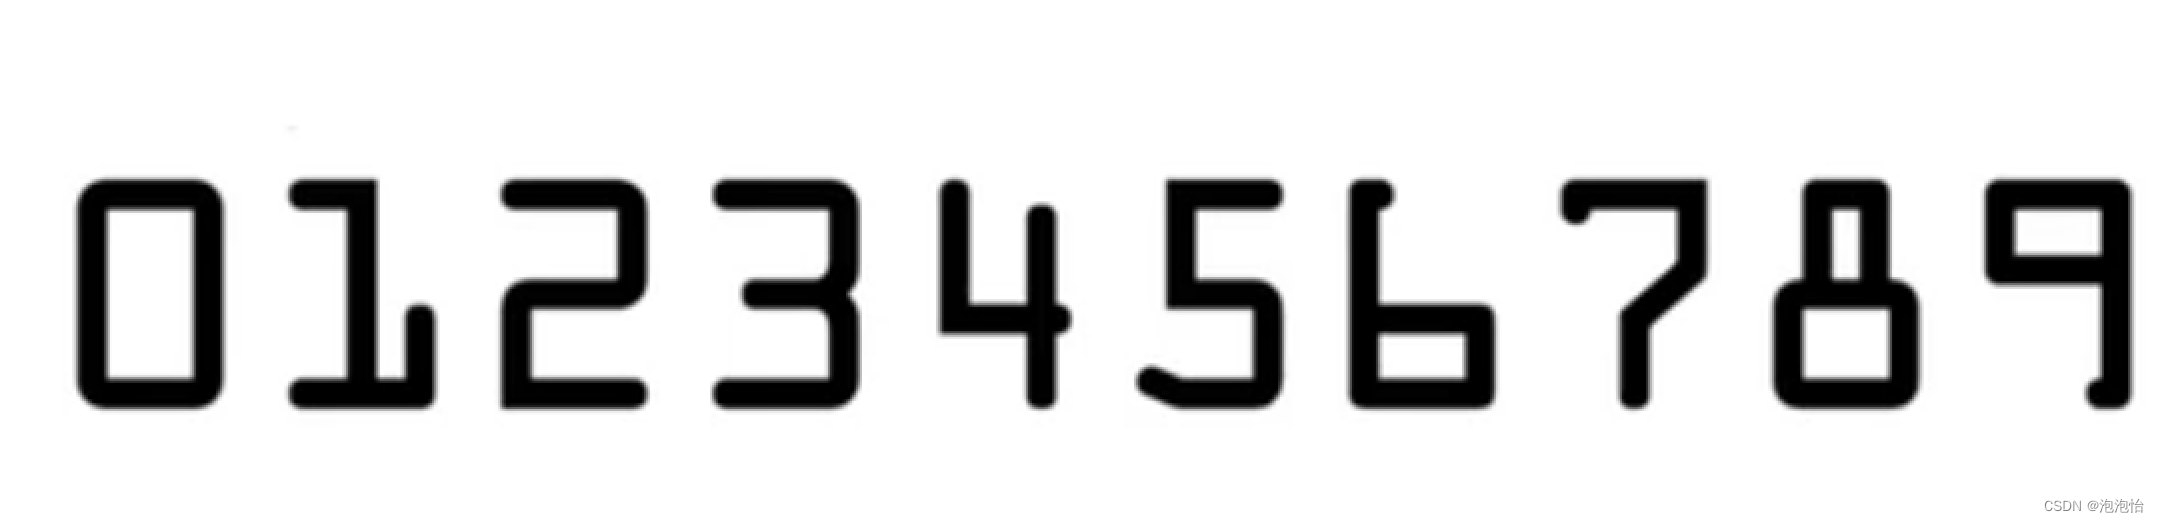
一、模板图像处理
(1)灰度图、二值图转化
|
1 2 3 4 5 6 7 |
template = cv2.imread('C:/Users/bwy/Desktop/number.png') template_gray = cv2.cvtColor(template, cv2.COLOR_BGR2GRAY) cv_show('template_gray', template_gray)
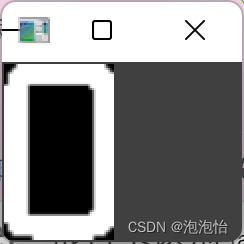
# 形成二值图像,因为要做轮廓检测 ret, template_thresh = cv2.threshold(template_gray, 127, 255, cv2.THRESH_BINARY_INV) cv_show('template_thresh', template_thresh) |
结果如图所示:
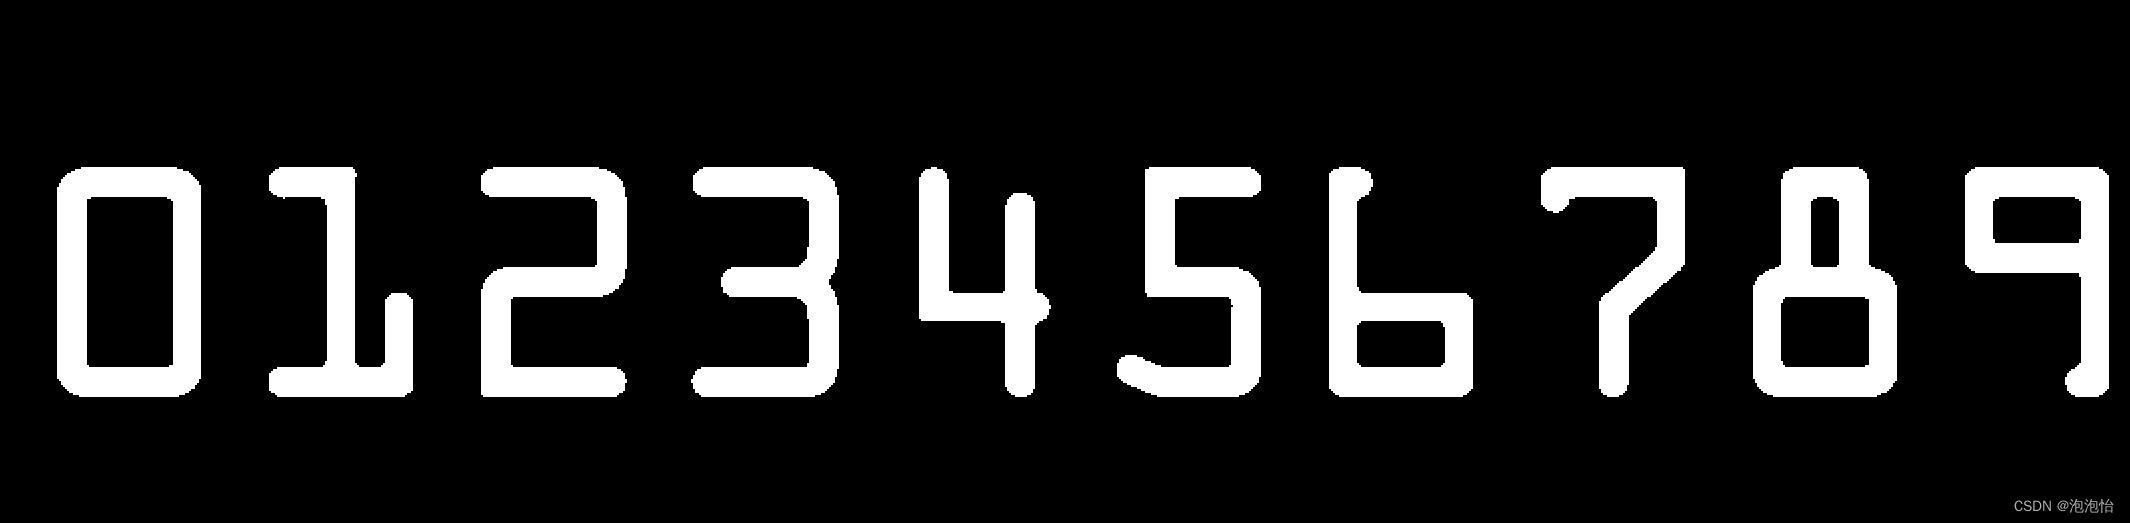
(2)进行轮廓提取接受参数为二值图像,得到数字的信息,RETR_EXTERNAL 就是只是需要外轮廓,cv2.CHAIN_APPROX_SIMPLE只保留终点坐标。
|
1 2 3 4 |
template_contours, hierarchy = cv2.findContours(template_thresh, cv2.RETR_EXTERNAL, cv2.CHAIN_APPROX_SIMPLE) cv2.drawContours(template,template_contours,-1,(0,0,255),2) cv_show('template',template) |
-1:代表所的轮廓,我们这里画出来10个轮廓。(可以用代码验证一下)
|
1 |
print(np.array(refCnts,-1,(0,0,255),3) |
结果:10
结果如图所示:

(3)我们需要将轮廓进行大小排序(我们拿到的数据模板不一定向我们前面所展示的从0-9按顺序的,所以我们需要进行排序、resize。
|
1 2 3 4 5 6 |
def contours_sort(contours, method=0): if method == 0: contours = sorted(contours, key=lambda x: cv2.boundingRect(x)[0]) else: contours = sorted(contours, key=lambda x: cv2.boundingRect(x)[0], reverse=True) return contours |
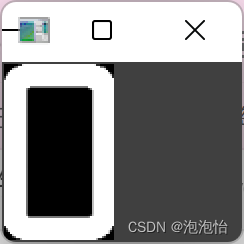
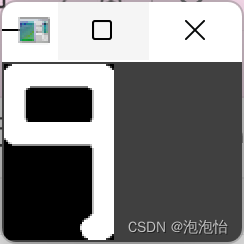
我们调用函数#将轮廓排序,位置从小到大就是数字的信息。然后我们遍历模板,使用cv2.boudingRect获得轮廓的位置,提取位置对应的图片,与数字结合构造成模板字典,dsize = (55, 88),统一大小。
|
1 2 3 4 5 6 7 8 9 |
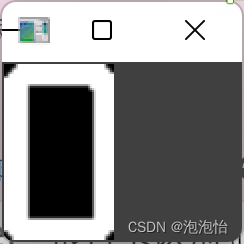
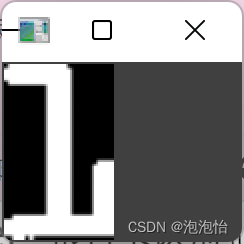
dict_template = {} for i, contour in enumerate(template_contours): # 画出其外接矩阵,获得其位置信息 x, y, w, h = cv2.boundingRect(contour) template_img = template_thresh[y:y + h, x:x + w] # 使用cv2.resize变化模板的大小 template_img = cv2.resize(template_img, dsize) cv_show('template_img{}'.format(i), template_img) dict_template[i] = template_img |
结果如图所示:

。。。。。。。。。。
二、信用卡图片预处理
(1)进行灰度值
|
1 2 |
card_gray = cv2.cvtColor(card, cv2.COLOR_BGR2GRAY) cv_show('card_gray',card_gray) |
(2)形成二值图像,因为要做轮廓检测,解释参数:THRESH_OTSU会自动寻找合适的阈值,适合双峰,需要阈值参数设置为零 二值化
|
1 2 |
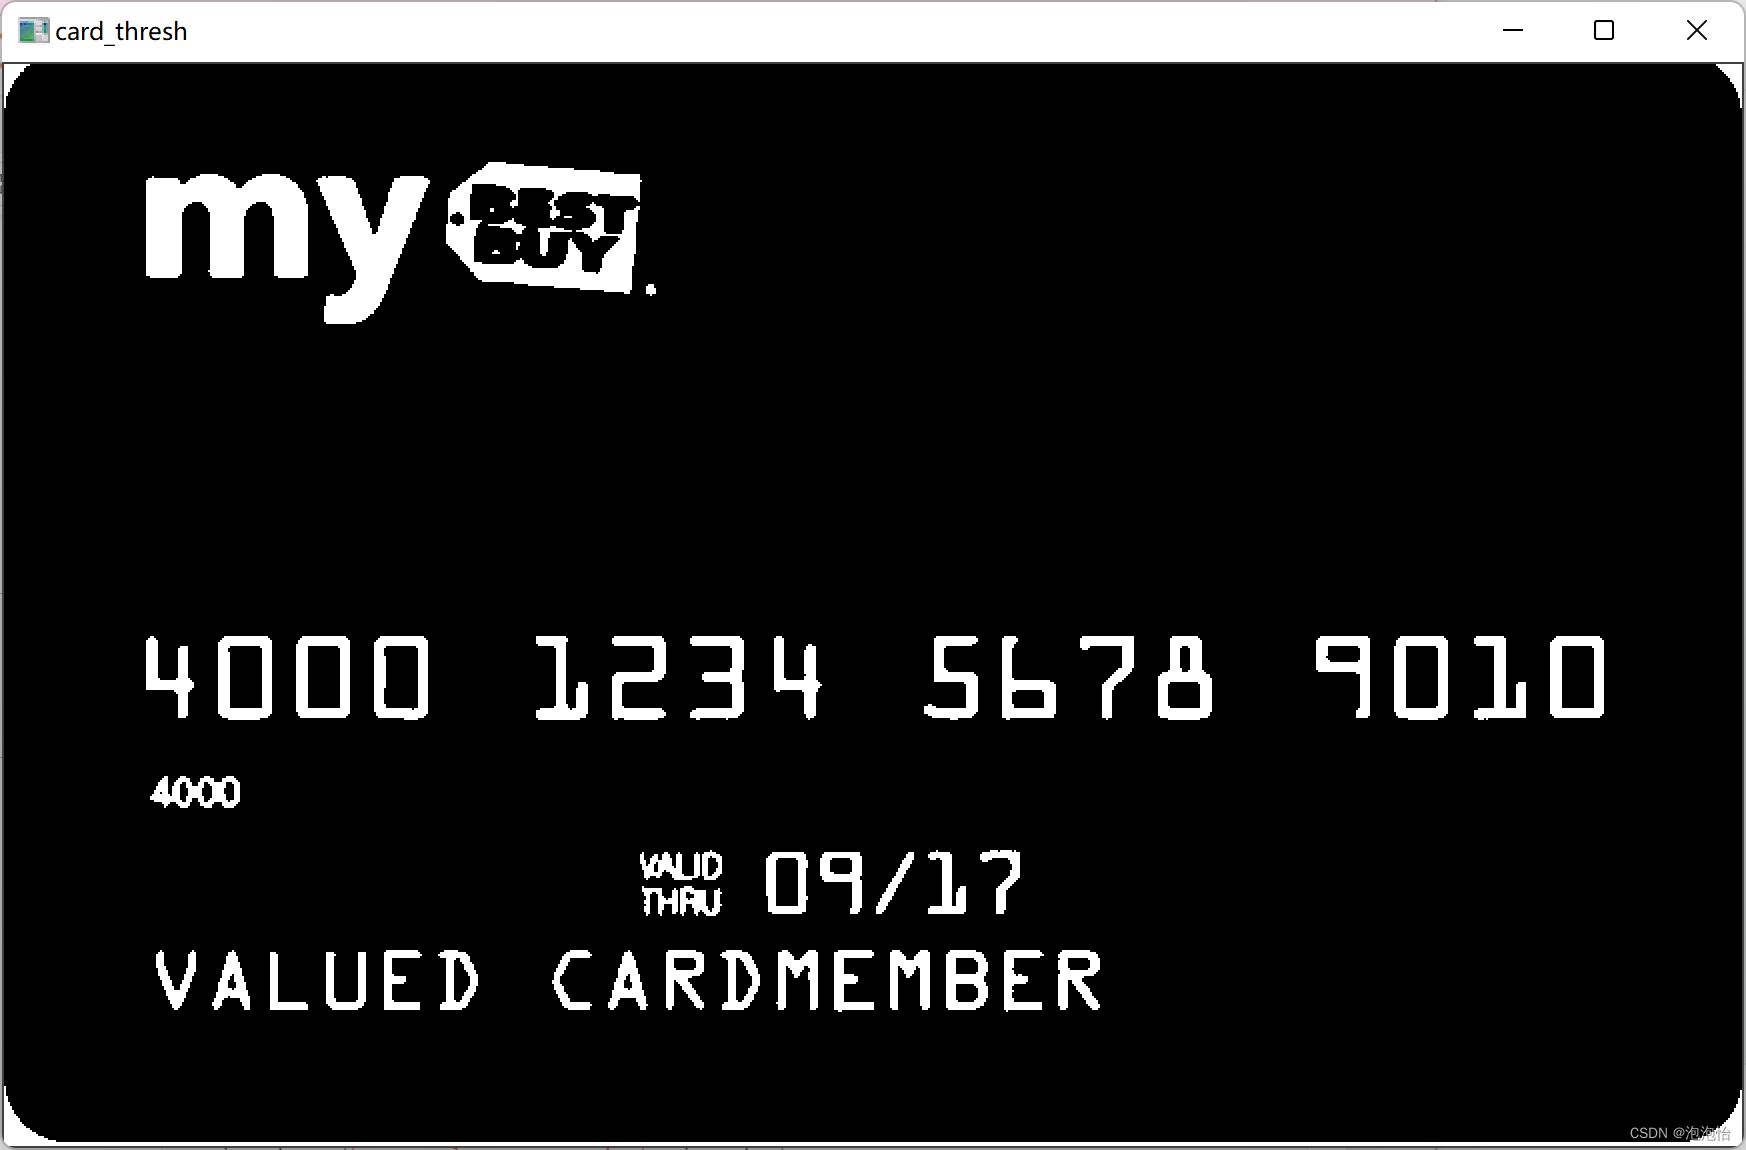
card_thresh =cv2.threshold(card_gray,0,255,cv2.THRESH_BINARY|cv2.THRESH_OTSU)[1] cv_show('card_thresh',card_thresh) |
结果如图所示:
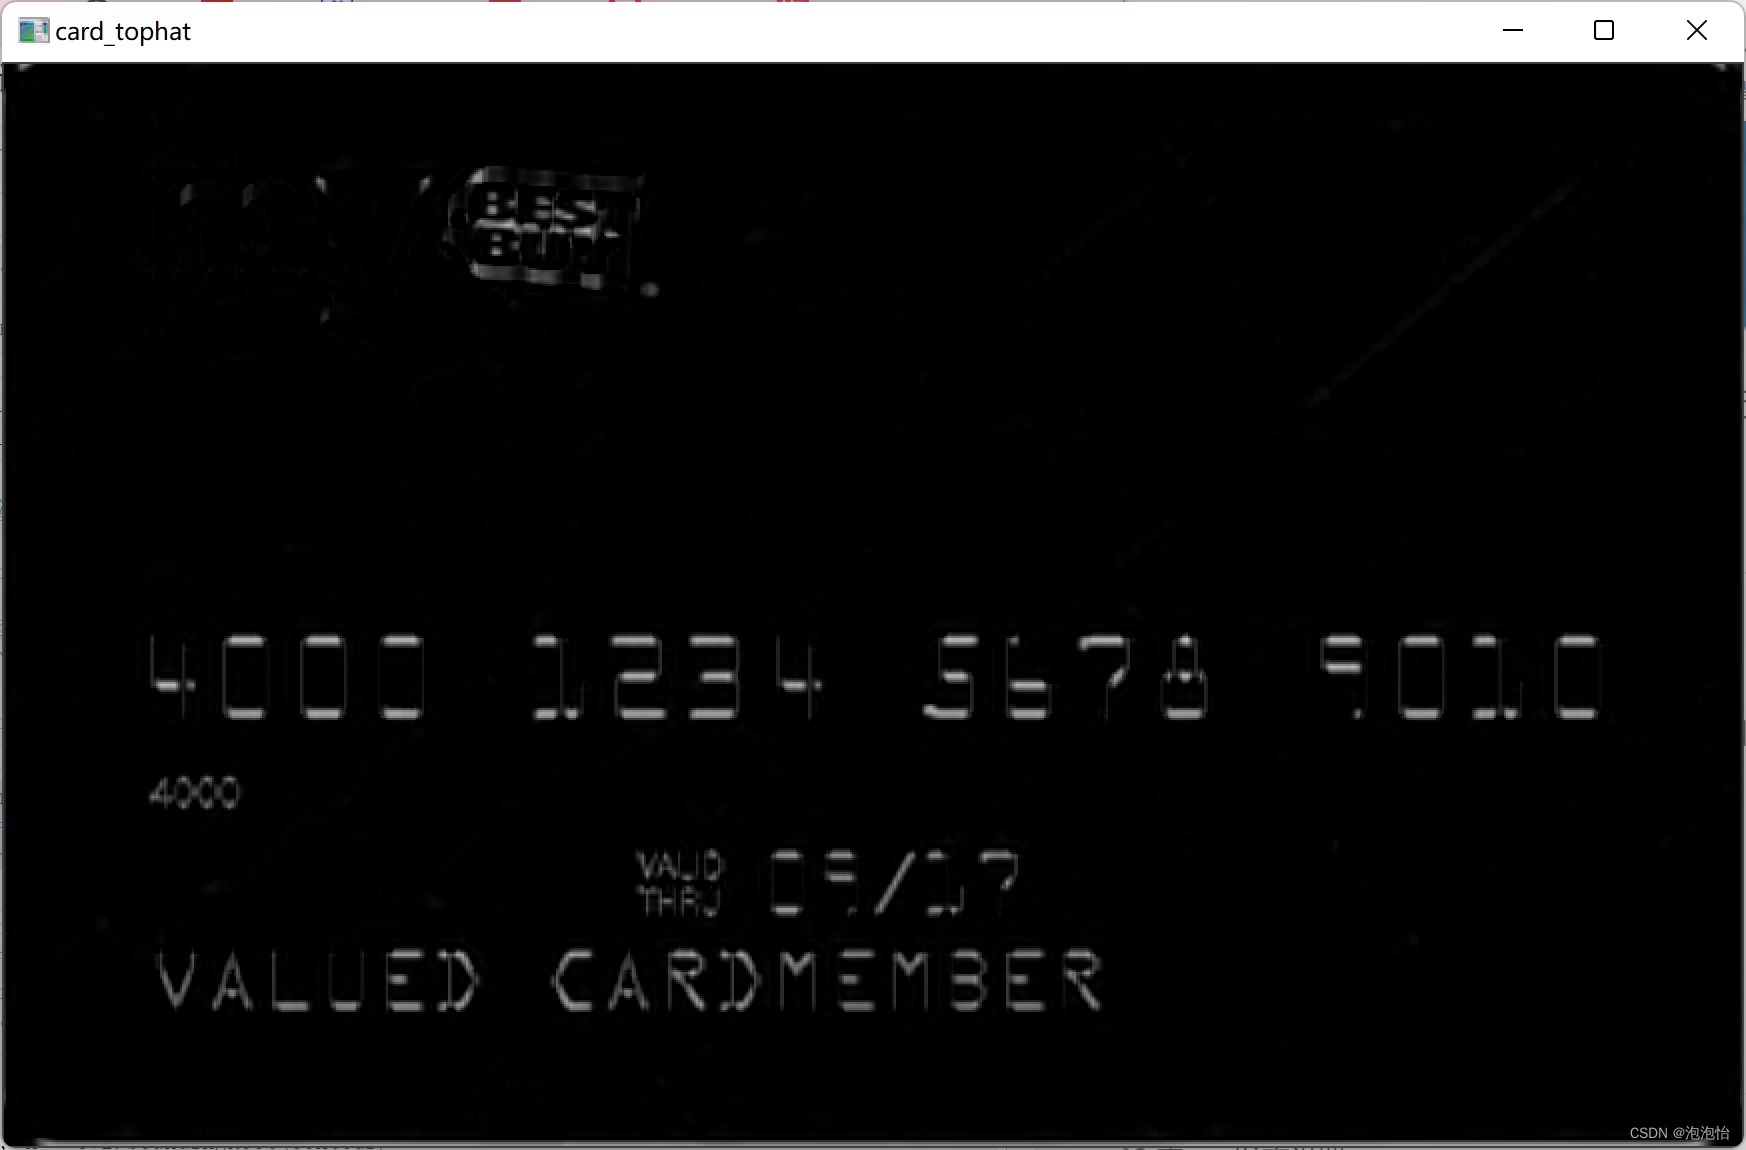
(3) 我们观察一下图片,我们识别图片上的数字但也会存在黄框和红框中的干扰,这时候我们可以想到前面所学到的形态学操作礼帽,闭运算...

先进行礼帽操作,突出更明亮的区域:
|
1 2 3 |
kernel=np.ones((9,3),np.uint8) card_tophat=cv2.morphologyEx(card_gray,cv2.MORPH_TOPHAT,kernel) cv_show('card_tophat',card_tophat) |
结果如图:
(4)我们进行图像的轮廓检测只取外轮廓。在这个图上有不同的区域,我们如何区分呢,我们可以用h的大小进行估计,这个数据根据项目而定

|
1 2 3 4 5 6 7 8 9 10 11 |
bankcard_contours, hierarchy = cv2.findContours(card_thresh, cv2.RETR_EXTERNAL, cv2.CHAIN_APPROX_SIMPLE) banck_card_cnts = [] draw_img = card.copy() for i, contour in enumerate(bankcard_contours): x, y, w, h = cv2.boundingRect(contour) # 数字的x 坐标在 一定的位置范围 if 0.5 * card_h < y < 0.6 * card_h: banck_card_cnts.append((x, y, w, h)) draw_img = cv2.rectangle(draw_img, pt1=(x, y), pt2=(x + w, y + h), color=(0, 0, 255), thickness=2) # 画出这个矩形,会在原图上画 cv_show_image('rectangle_contours_img', draw_img) |
结果如图:

(5)模板匹配,读出图像。
|
1 2 3 4 5 6 7 8 9 10 11 12 13 14 15 16 17 18 19 20 21 22 |
for i, locs in enumerate(banck_card_cnts):
x, y, w, h = locs[:] # 保留了在原始图像的位置信息 dst_img = card_thresh[y:y + h, x:x + w] # 获得当前图像的位置和区域 dst_img = cv2.resize(dst_img, dsize) cv_show('rectangle_contours_img', dst_img) tm_vals = {} for number, temp_img in dict_template.items(): # 模板匹配,采用计算相关性系数,值越大越相关 res = cv2.matchTemplate(dst_img, temp_img, cv2.TM_CCOEFF_NORMED) min_val, max_val, min_loc, max_loc = cv2.minMaxLoc(res) tm_vals[number] = max_val
number_tm = max(tm_vals, key=tm_vals.get)
# 在图像上画出结果来 draw_img = cv2.rectangle(draw_img, pt1=(x, y), pt2=(x + w, y + h), color=(0, 0, 255), thickness=2) cv2.putText(draw_img, str(number_tm), (x, y - 10), cv2.FONT_HERSHEY_SIMPLEX, 0.65, color=(0, 0, 255), thickness=2)
cv_show_image('final_result', draw_img) |
结果如图所示:

只是展示一部分(倒序输出)