从 github 下载
https://github.com/acheong08/ChatGPT
环境配置
conda 创建虚拟环境
我选择用 anaconda 先配一个专属的环境
|
1 |
conda create -n chatgpt python=3.6 |
|
1 2 3 |
# 激活虚拟环境 conda activate 如果不行就用 source activate conda activate chatgpt # source activate chatgpt |
官方步骤配置环境
按照 官方给出的步骤https://github.com/acheong08/ChatGPT/wiki/
配置环境
安装 revChatGPT
这个过程强烈 建议使用手机开热点下载 不然可能非常慢
|
1 2 3 4 5 6 7 |
# 如果你在 conda 的虚拟环境中执行这步,pip3 可以用 pip 代替 pip3 install revChatGPT --upgrade # pip install revChatGPT --upgrade
# 如果你在 conda 的虚拟环境中执行这步,pip3 可以用 pip 代替 pip3 install revChatGPT --upgrade # pip install revChatGPT --upgrade |

更改 config.json.example -> config.json
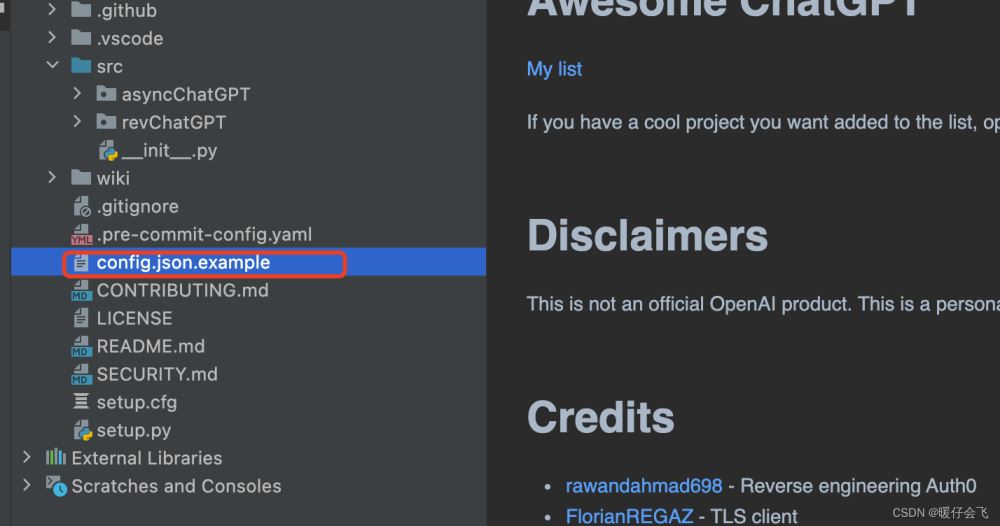
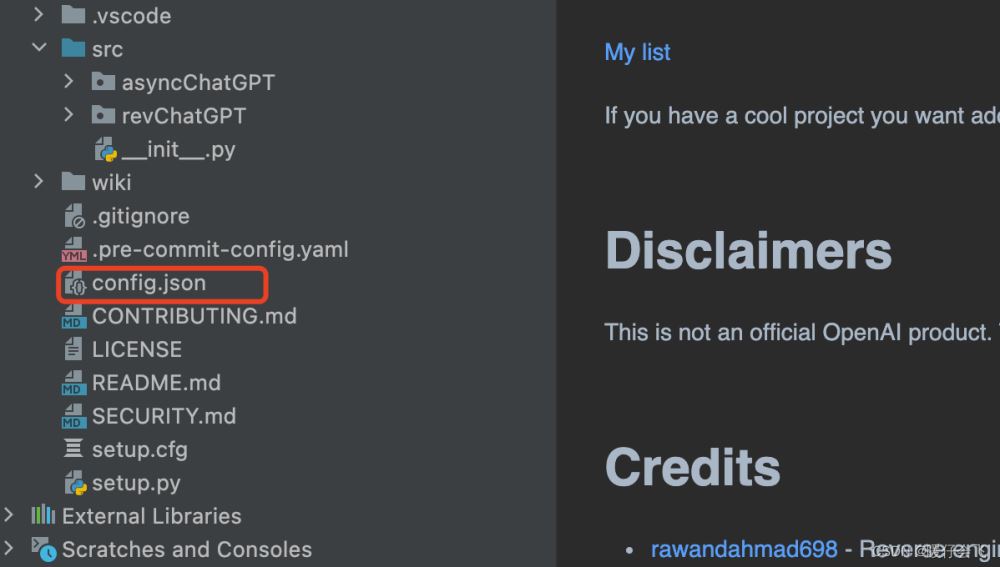
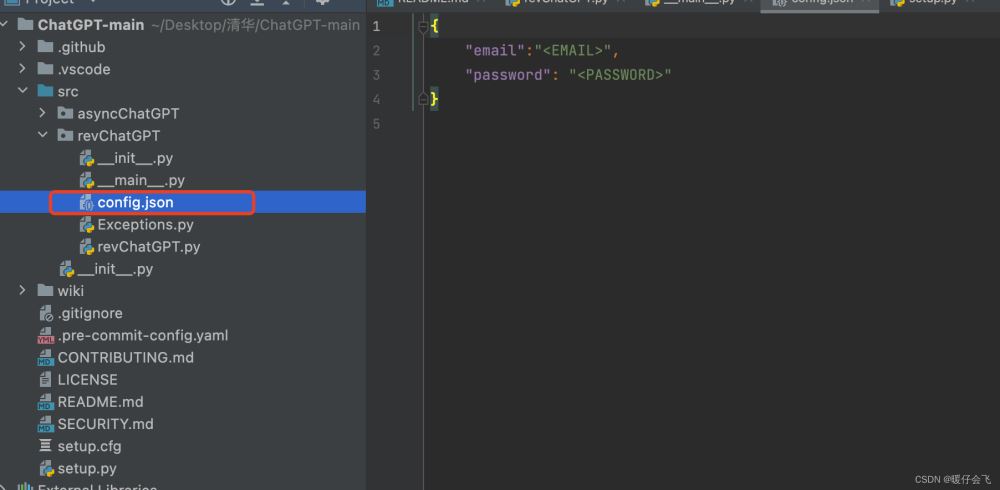
将 config.json 移动到 revChatGPT 路径下
cookie 信息写入 config.json
- 个人推荐采用 第二种方式,因为第一种我运行了多次都是访问错误。因为 chatgpt 不对中国大陆提供服务,用邮箱和密码登录的方式很容易被拒绝,但是用 session token 的话就没问题了
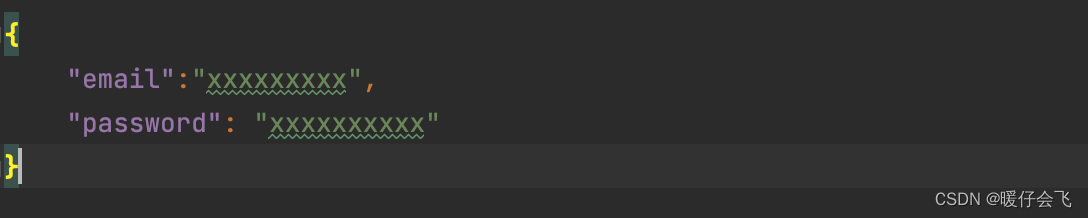
方式1:使用账号密码作为登录的方法
- 没有 chatGPT 账号的话,先注册一个注册的流程可以参考 一元钱注册 chatGPT账号(自行百度吧)
- 将自己的账号和密码分别写入 config.json 的字段
方式2: 使用 session_token 作为登录方法
- 打开浏览器,没有 chatGPT 账号的话,先注册一个注册的流程可以参考 一元钱注册 chatGPT账号(自行百度吧)
- 如果已经注册的话,先登录你的账号:
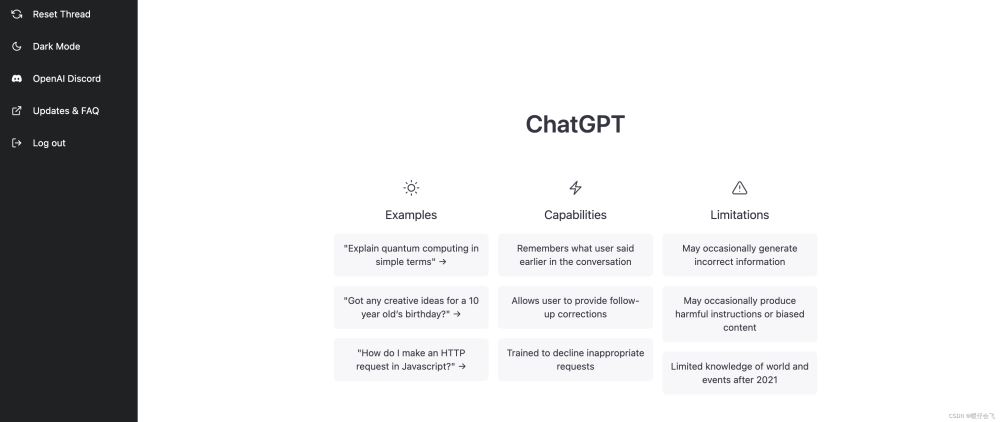
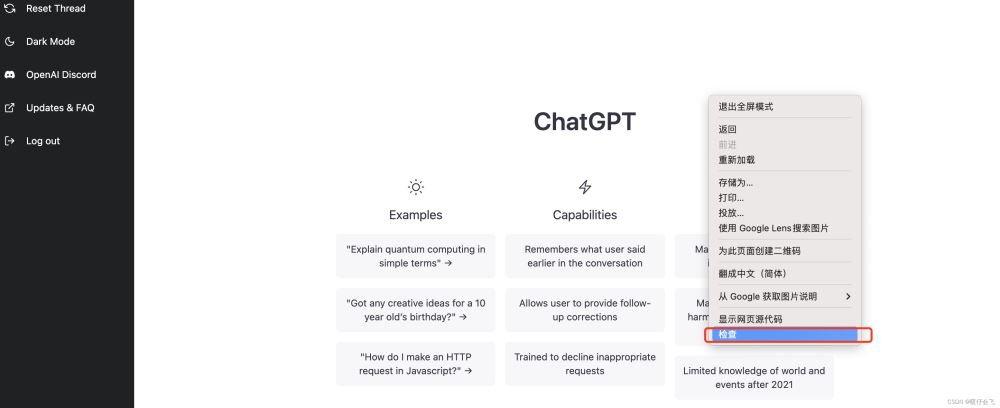
右键,打开检查:
Application -> Cookies
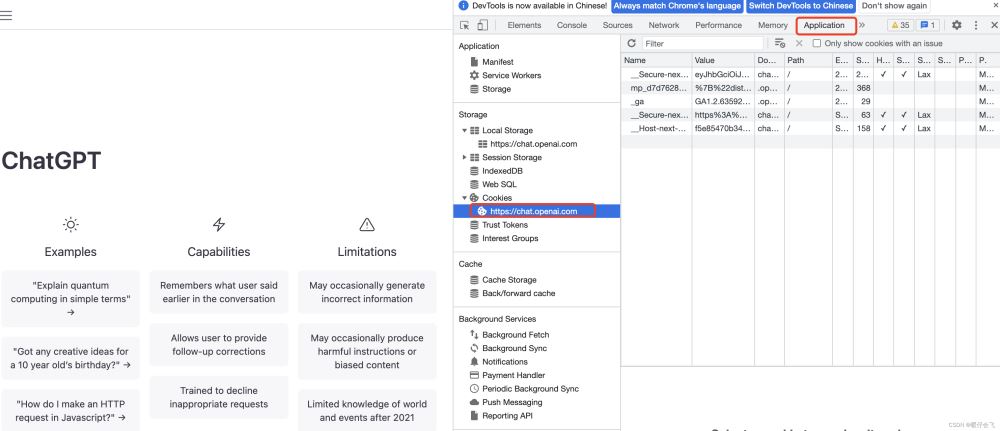
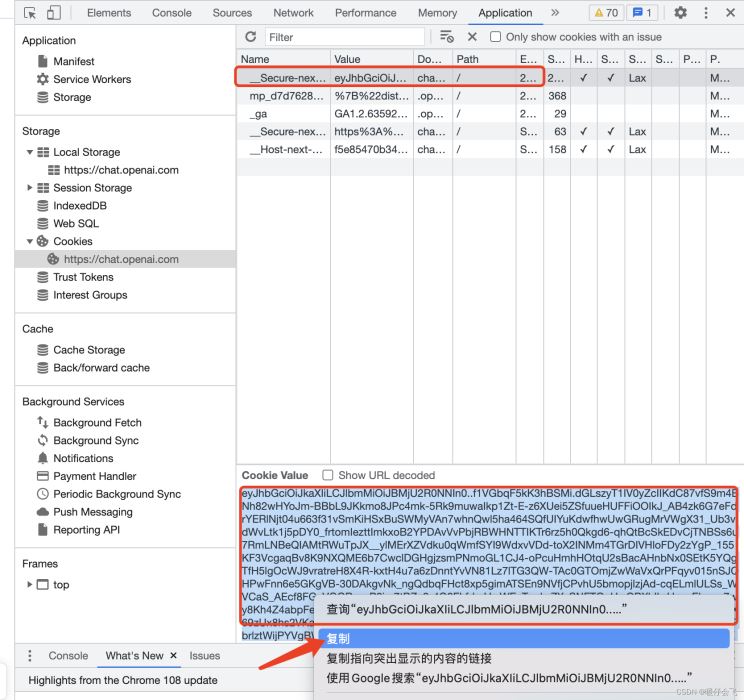
将 __Secure-next-auth.session-token 中的内容复制到 config.json 中的 session_token
将 config.json 文件中的字段给改成如下形式(Authorization)字段不需要填写:

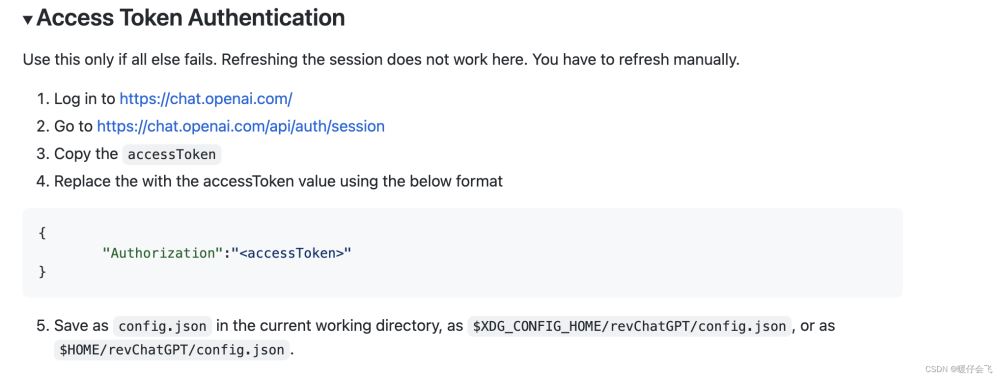
方式3:使用 Access Token 作为登录方式
- 这种方式只有前两种都失败才使用
- 需要手动刷新 session
- 详细可以 参考:
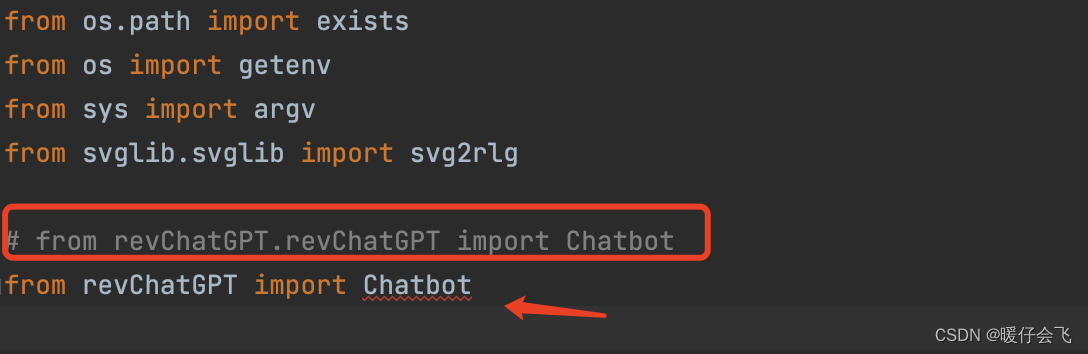
运行 main.py
- 如果直接运行出现 package 错误的话:
- 改成下面这行,把前面的 revChatGPT 去掉即可
- 运行成功之后的样子
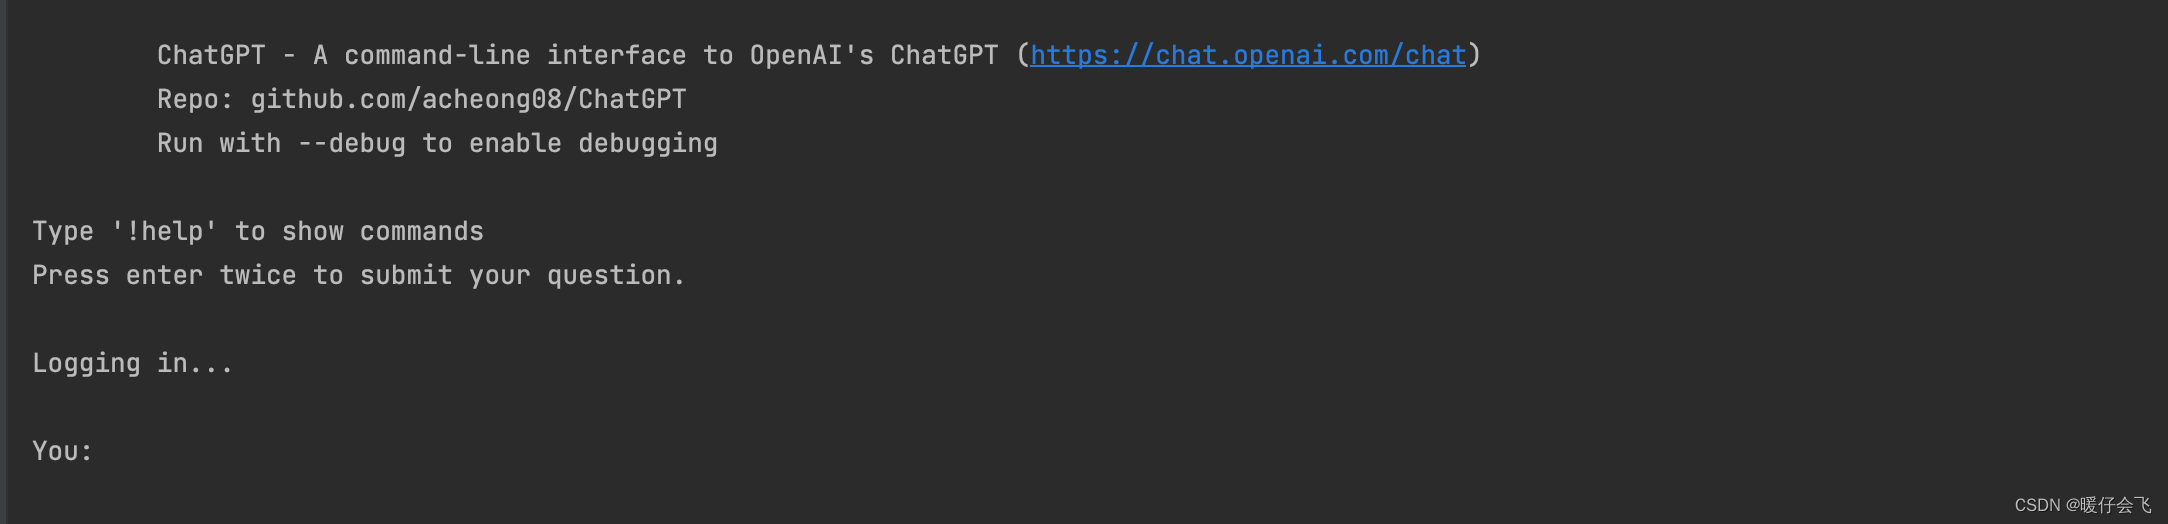
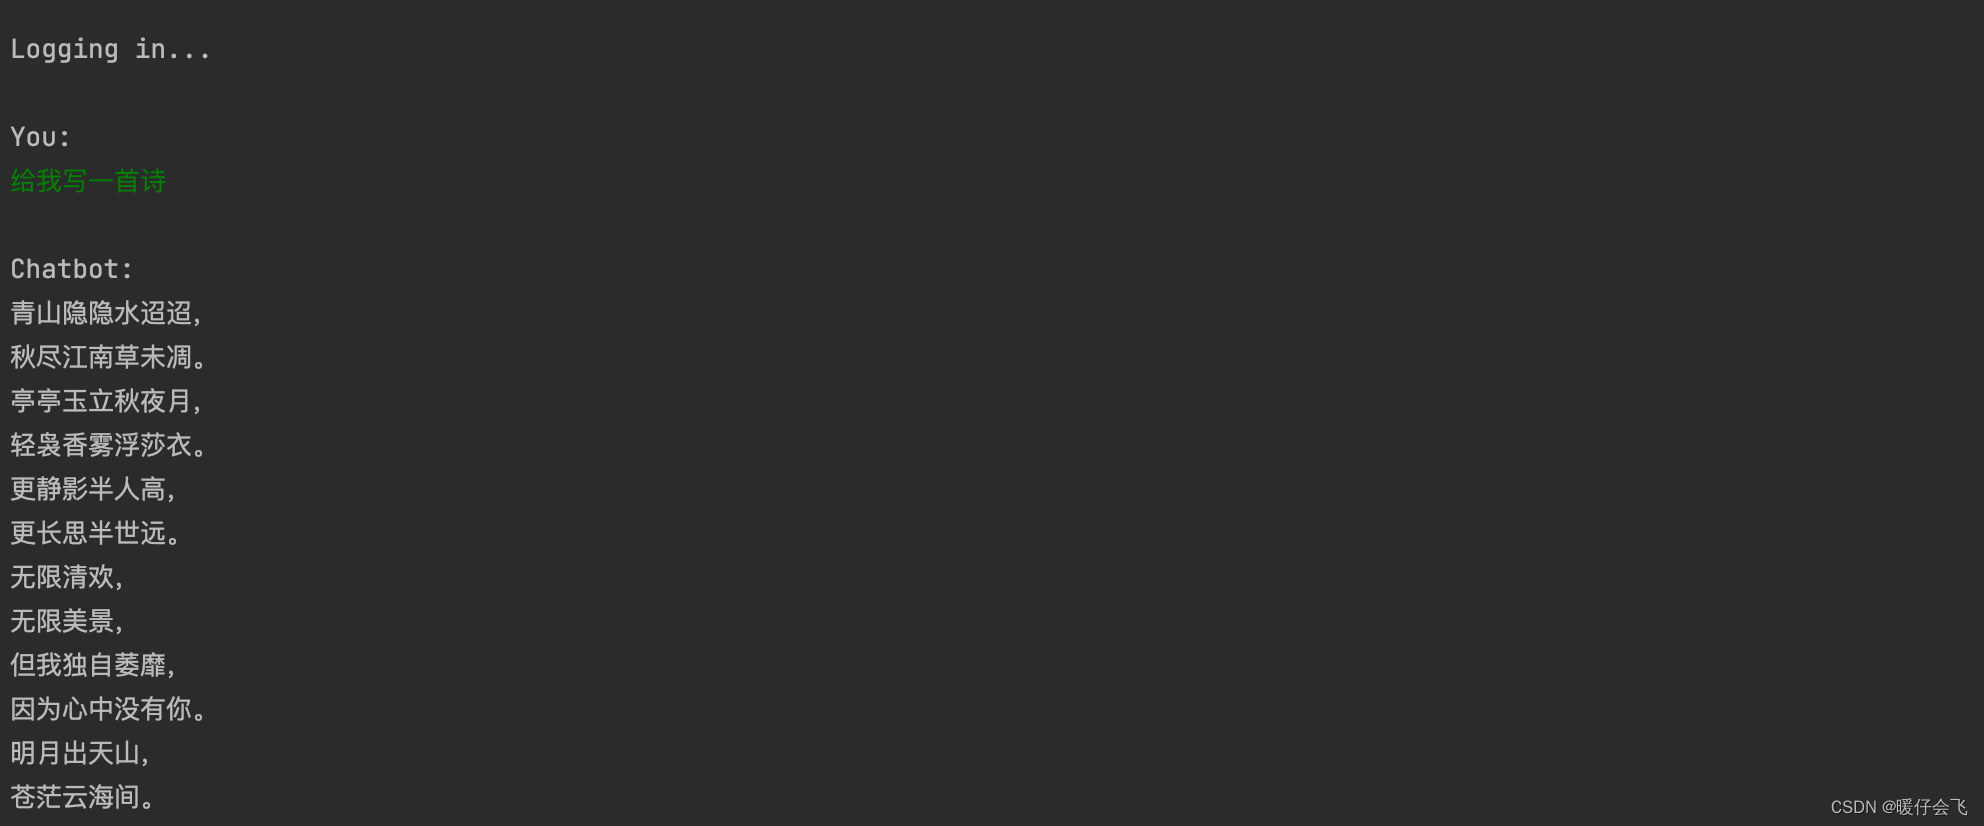
- 在 you 这里输入内容即可,输入内容要两次 enter 才会给返回值

通过API 调用 官方给出的 开发文档https://github.com/acheong08/ChatGPT/wiki/Developer-Docs