一、服务器端配置
在开始之前,确保你的 Elasticsearch 服务已经在服务器上正确安装和配置。
以下是一些基本的配置步骤:
1. 修改 Elasticsearch 配置文件
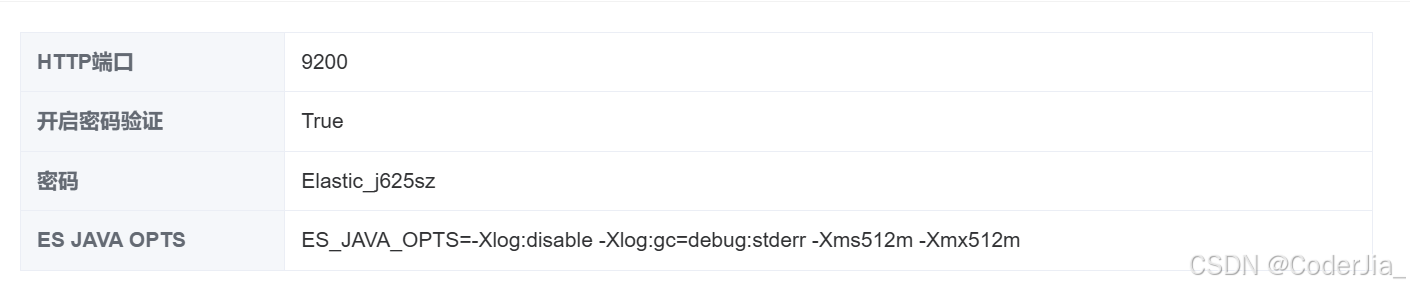
找到 Elasticsearch 的配置文件 elasticsearch.yml,并进行如下修改,以允许远程访问:
|
1 2 3 |
network.host: 0.0.0.0 http.port: 9200 discovery.type: single-node |
2. 开放防火墙端口
确保服务器的防火墙已经开放了 Elasticsearch 的默认端口 9200。如果你使用的是云服务器,也需要在安全组中开放该端口。
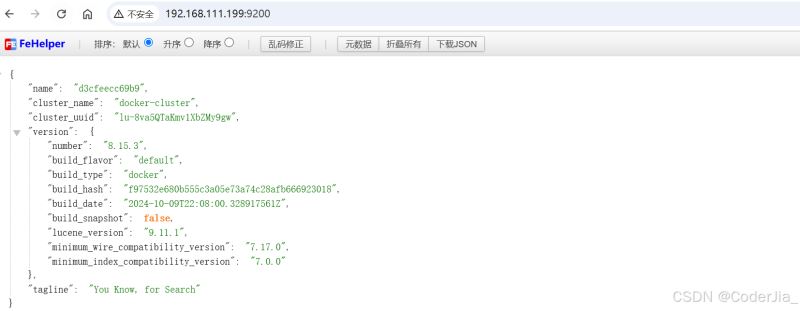
你可以通过在浏览器中输入 http://<你的服务器IP>:9200 来测试是否能够正常访问 Elasticsearch。如果配置正确,你应该能看到如下 Elasticsearch 的欢迎页面。
二、本地 Python 连接 Elasticsearch
在确保服务器端配置无误后,接下来我们在本地使用 Python 连接到 Elasticsearch。首先,你需要安装 elasticsearch Python 客户端库:
|
1 |
pip install elasticsearch |
1. 连接 Elasticsearch
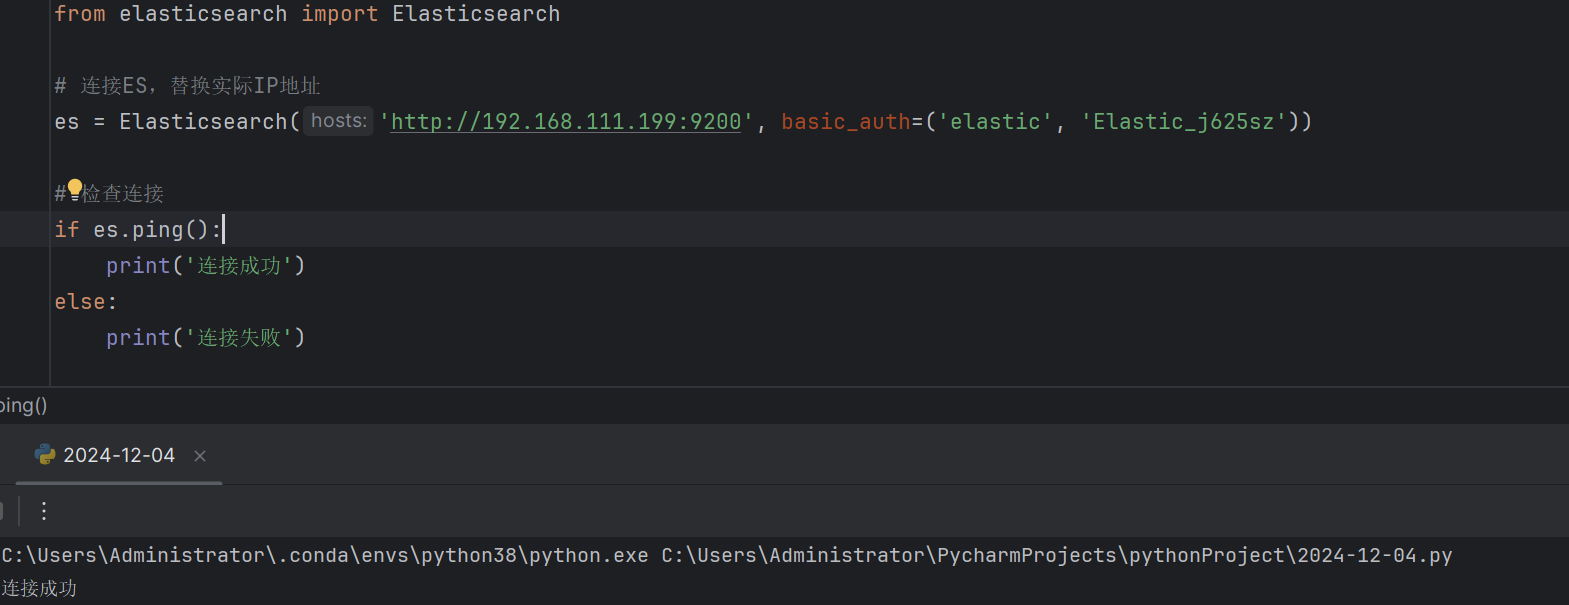
以下是连接到 Elasticsearch 的示例代码:
|
1 2 3 4 5 6 7 8 9 10 |
from elasticsearch import Elasticsearch
# 连接到 Elasticsearch,替换为实际的 IP 地址和密码 es = Elasticsearch('http://192.168.111.199:9200', basic_auth=('elastic', 'Elastic_j625sz'))
# 检查连接 if es.ping(): print('连接成功') else: print('连接失败') |
在上述代码中,basic_auth 参数用于传递用户名和密码。如果你的 Elasticsearch 没有设置密码,可以省略该参数。
2. 索引操作
|
1 2 3 4 5 6 7 8 |
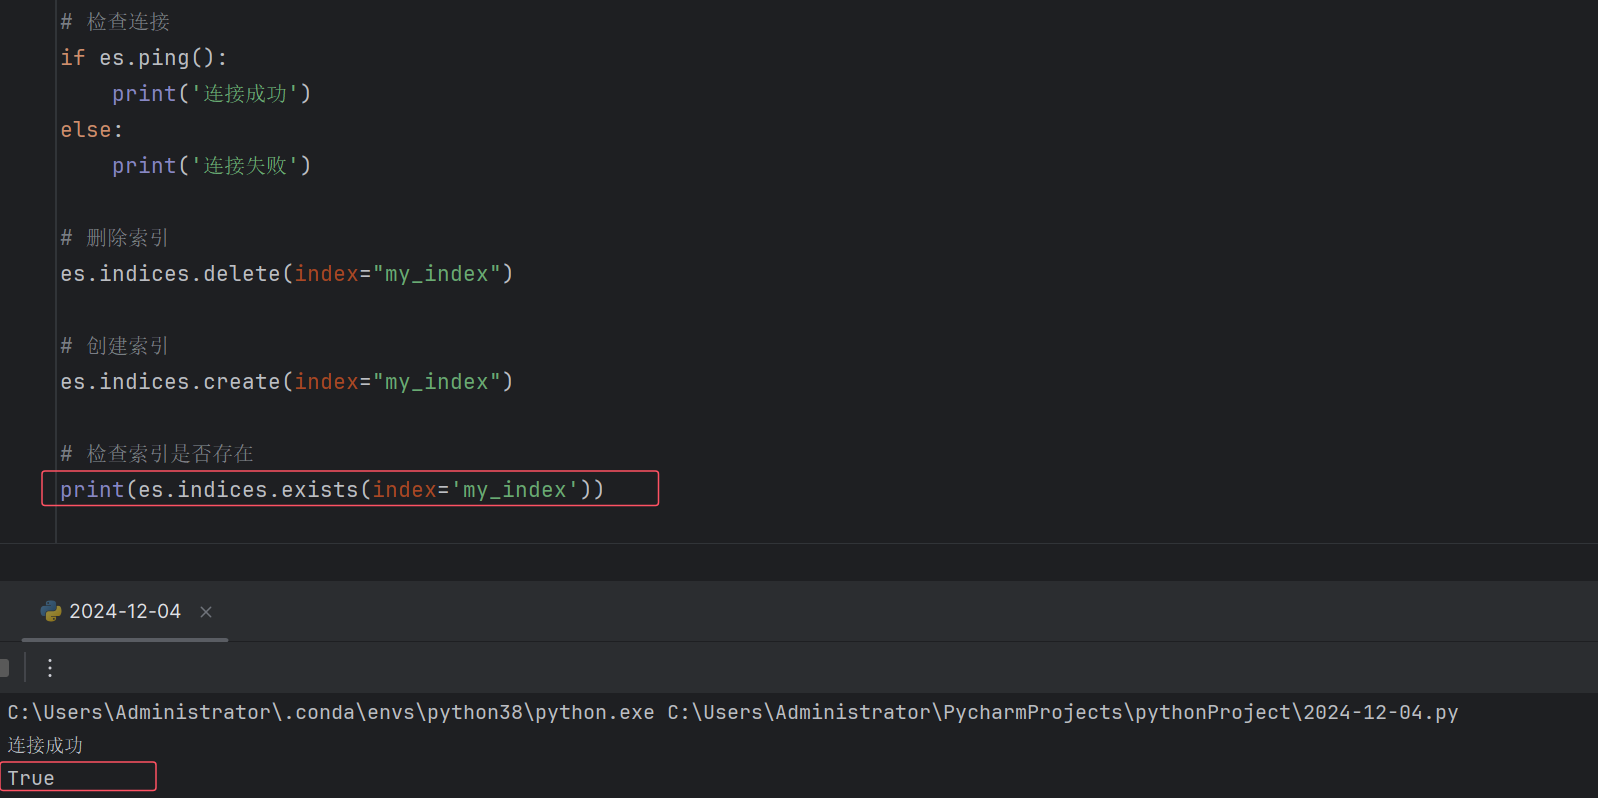
# 创建索引 es.indices.create(index="my_index")
# 删除索引 es.indices.delete(index="my_index")
# 检查索引是否存在 es.indices.exists(index="my_index") |
3. 文档操作
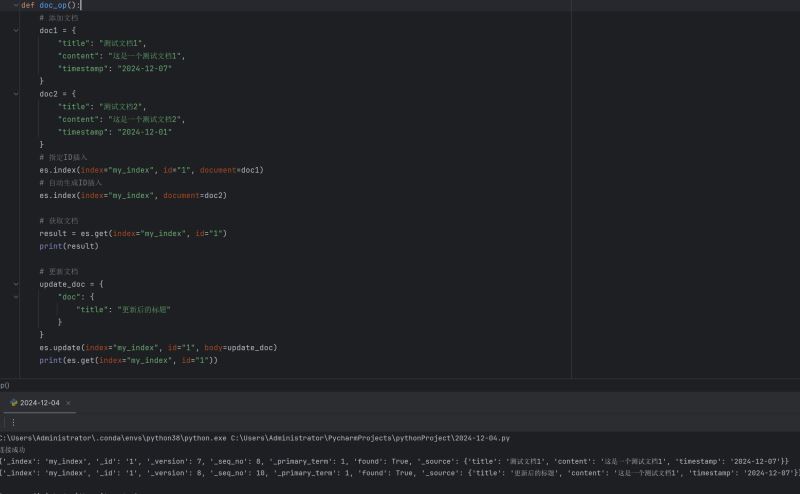
连接成功后,我们可以开始进行数据存储和搜索操作。以下是一个创建索引并插入数据的示例:
|
1 2 3 4 5 6 7 8 9 10 11 12 13 14 15 16 17 18 19 20 21 22 23 24 25 26 27 28 29 30 31 |
# 添加文档 doc1 = { "title": "测试文档1", "content": "这是一个测试文档1", "timestamp": "2024-12-07" } doc2 = { "title": "测试文档2", "content": "这是一个测试文档2", "timestamp": "2024-12-01" } # 指定ID插入 es.index(index="my_index", id="1", document=doc1) # 自动生成ID插入 es.index(index="my_index", document=doc2)
# 获取文档 result = es.get(index="my_index", id="1") print(result)
# 更新文档 update_doc = { "doc": { "title": "更新后的标题" } } es.update(index="my_index", id="1", body=update_doc) print(es.get(index="my_index", id="1"))
# 删除文档 es.delete(index="my_index", id="1") |
4. 搜索内容
接下来,我们可以通过搜索来查找我们存储的数据。
在这之前,定义一个打印文档的方法:
|
1 2 3 4 5 6 |
def print_doc(result): for hit in result['hits']['hits']: print(f"文档ID: {hit['_id']}") print(f"得分: {hit['_score']}") print(f"文档内容: {json.dumps(hit['_source'], indent=2, ensure_ascii=False)}") print("-" * 50) |
下面是常用的搜索方式:
|
1 2 3 4 5 6 7 8 9 10 11 12 13 14 15 16 17 18 19 20 21 22 23 24 25 26 27 28 29 30 31 32 33 |
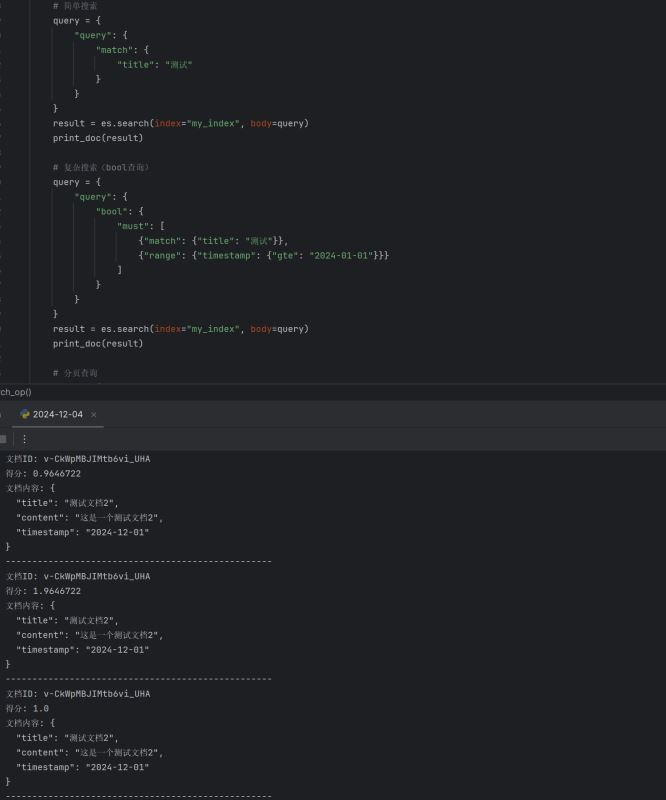
# 简单搜索 query = { "query": { "match": { "title": "测试" } } } result = es.search(index="my_index", body=query) print_doc(result)
# 复杂搜索(bool查询) query = { "query": { "bool": { "must": [ {"match": {"title": "测试"}}, {"range": {"timestamp": {"gte": "2024-01-01"}}} ] } } } result = es.search(index="my_index", body=query) print_doc(result)
# 分页查询 query = { "query": {"match_all": {}}, "from": 0, # 从第几条开始 "size": 10 # 返回多少条 } result = es.search(index="my_index", body=query) print_doc(result) |
在这个示例中,我们搜索了包含“测试”这个词的文档,并打印出搜索结果。
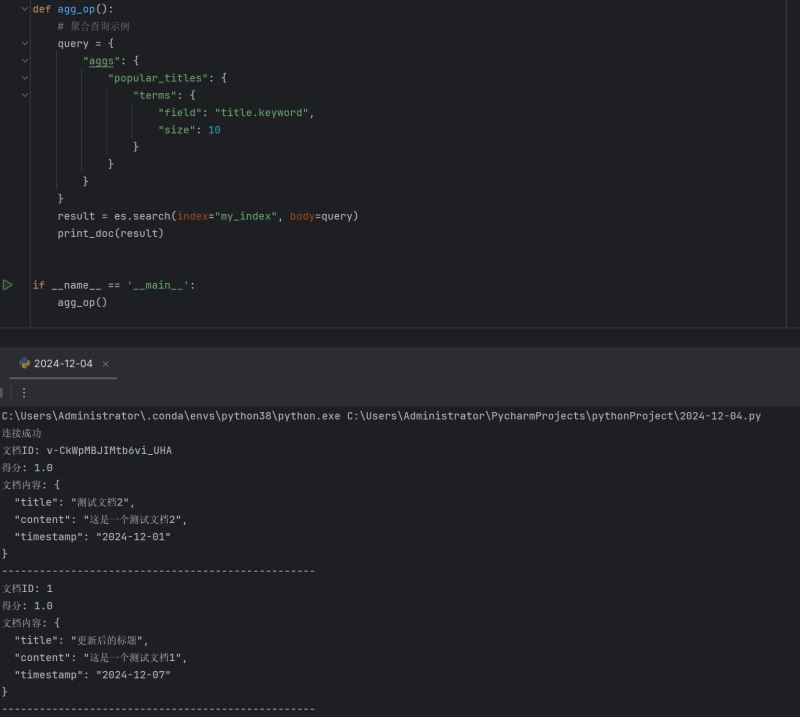
5. 聚合查询
|
1 2 3 4 5 6 7 8 9 10 11 12 |
# 聚合查询示例 query = { "aggs": { "popular_titles": { "terms": { "field": "title.keyword", "size": 10 } } } } result = es.search(index="my_index", body=query) |
6. 批量操作
|
1 2 3 4 5 6 7 |
# 批量插入 actions = [ {"_index": "my_index", "_source": {"title": "文档1"}}, {"_index": "my_index", "_source": {"title": "文档2"}}, ] from elasticsearch.helpers import bulk bulk(es, actions) |

三、注意事项
在使用 Elasticsearch 时,有几个注意事项需要牢记:
- 确保 Elasticsearch 服务正在运行:在进行任何操作之前,确保 Elasticsearch 服务已经启动。
- 检查网络连接:确保本地机器与服务器之间的网络连接畅通。
- 认证信息:如果 Elasticsearch 配置了认证,连接时必须提供正确的用户名和密码。
- 安全措施:在生产环境中,建议配置合适的安全措施,例如使用 HTTPS 和防火墙规则。
- 记得在完成操作后关闭连接:es.close()
四、故障排除
如果在连接或操作 Elasticsearch 时遇到问题,可以尝试以下方法进行排查:
- 使用 telnet 测试端口连通性:
|
1 |
telnet <你的服务器IP> 9200 |
- 检查 Elasticsearch 的日志文件,查看是否有错误信息。
- 确认 elasticsearch.yml 配置文件中的设置是否正确,并重启 Elasticsearch 服务以应用更改。
结论
通过以上步骤,你应该能够成功使用 Python 连接到 Elasticsearch,并进行基本的文档存储和搜索操作。Elasticsearch 提供了强大的搜索能力,结合 Python 的灵活性,可以帮助你构建高效的数据检索系统。希望这篇文章能帮助你更好地理解如何使用 Python 操作 Elasticsearch。