一,栈
1,概念
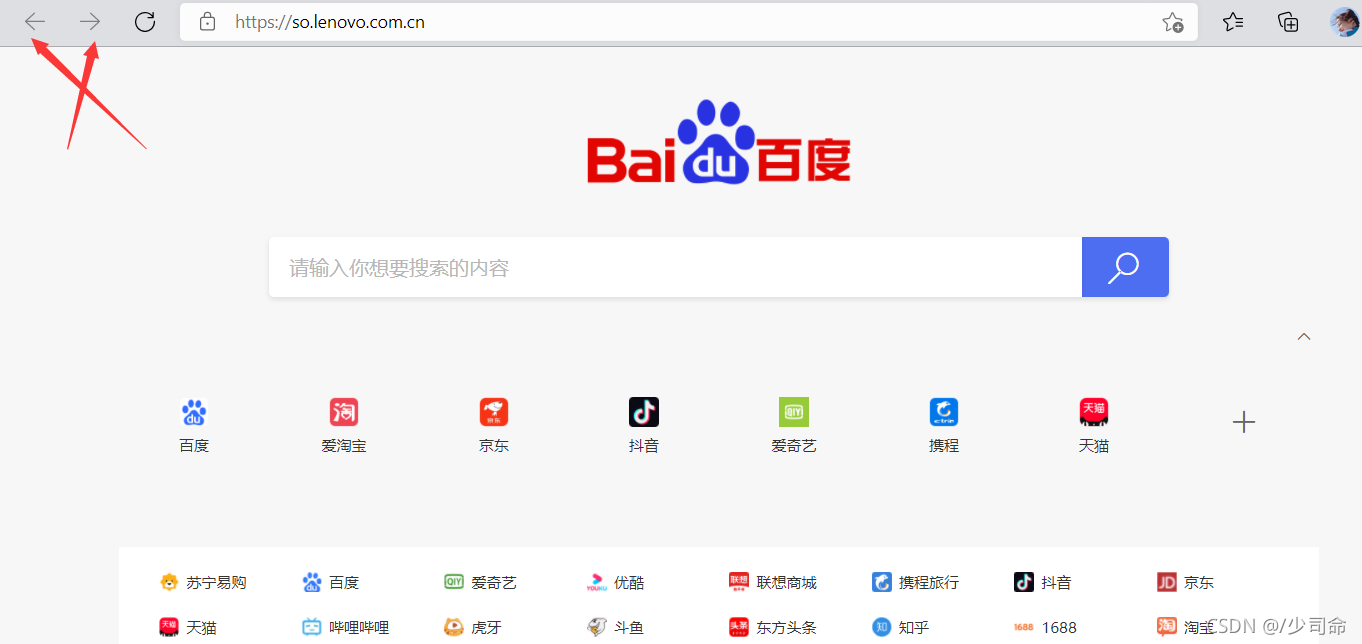
在我们软件应用 ,栈这种后进先出数据结构的应用是非常普遍的。比如你用浏 览器上网时不管什么浏览器都有 个"后退"键,你点击后可以接访问顺序的逆序加载浏览过的网页。
很多类似的软件,比如 Word Photoshop 等文档或图像编 软件中 都有撤销 )的操作,也是用栈这种方式来实现的,当然不同的软件具体实现会有很大差异,不过原理其实都是一样的。
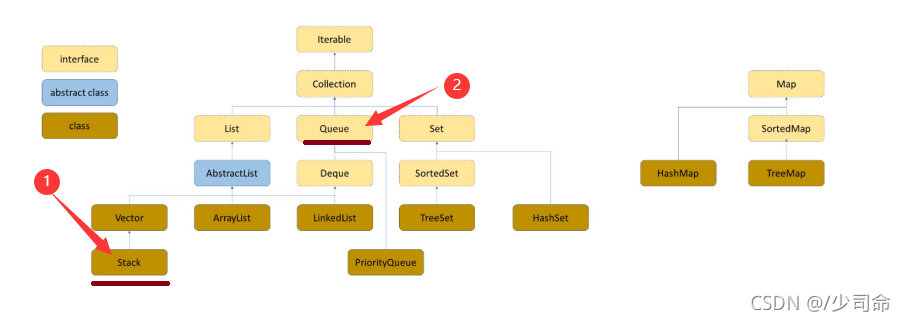
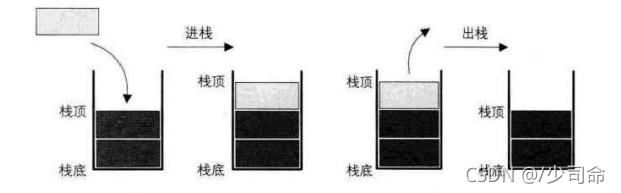
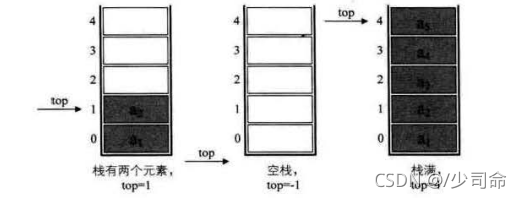
栈( stack )是限定仅在表尾进行插入和删除的线性表
栈:一种特殊的线性表,其只允许在固定的一端进行插入和删除元素操作。进行数据插入和删除操作的一端称为栈 顶,另一端称为栈底。栈中的数据元素遵守后进先出LIFO(Last In First Out)的原则。
2,栈的操作
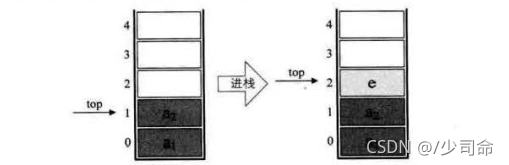
压栈:栈的插入操作叫做进栈/压栈/入栈,入数据在栈顶。
出栈:栈的删除操作叫做出栈。出数据在栈顶。
3,栈的实现
①入栈
|
1
2
3
4
5
6
7
8
9
|
public static void main(String[] args) {
Stack stack = new Stack<>();
stack.push(1);
stack.push(2);
stack.push(3);
stack.push(4);
int ret = stack.push(4);
System.out.println(ret);
}
|

②出栈
|
1
2
3
4
5
6
7
8
9
10
|
public static void main(String[] args) {
Stack stack = new Stack<>();
stack.push(1);
stack.push(2);
stack.push(3);
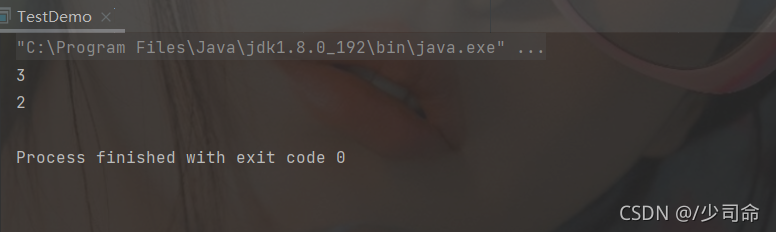
int ret1 = stack.pop();
int ret2 = stack.pop();
System.out.println(ret1);
System.out.println(ret2);
}
|
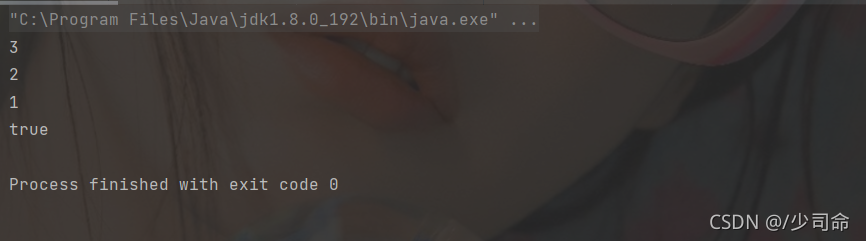
③获取栈顶元素
|
1
2
3
4
5
6
7
8
9
10
11
12
|
public static void main(String[] args) {
Stack stack = new Stack<>();
stack.push(1);
stack.push(2);
stack.push(3);
int ret1 = stack.pop();
int ret2 = stack.pop();
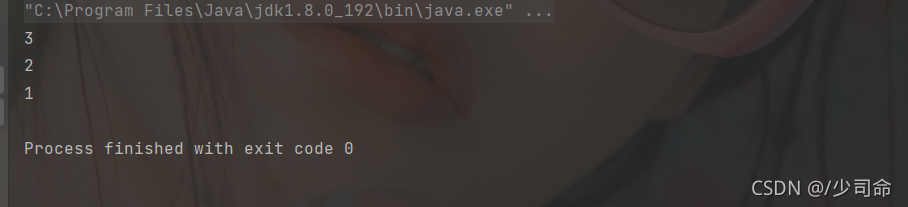
int ret3 = stack.peek();
System.out.println(ret1);
System.out.println(ret2);
System.out.println(ret3);
}
|
④判断栈是否为空
|
1
2
3
4
5
6
7
8
9
10
11
12
13
14
15
|
public static void main(String[] args) {
Stack stack = new Stack<>();
stack.push(1);
stack.push(2);
stack.push(3);
int ret1 = stack.pop();
int ret2 = stack.pop();
int ret3 = stack.peek();
System.out.println(ret1);
System.out.println(ret2);
System.out.println(ret3);
stack.pop();
boolean flag = stack.empty();
System.out.println(flag);
}
|
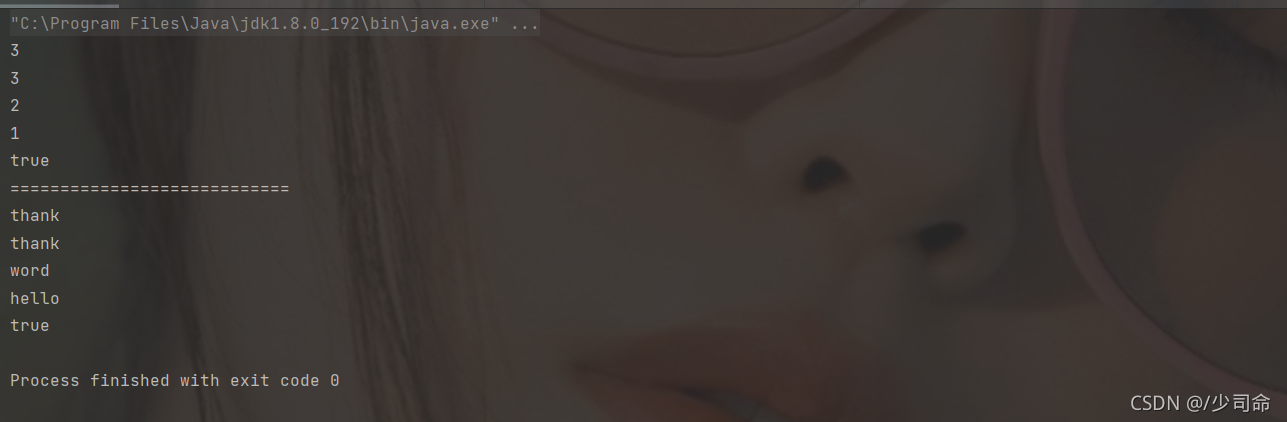
4,实现mystack
|
1
2
3
4
5
6
7
8
9
10
11
12
13
14
15
16
17
18
19
20
21
22
23
24
25
26
27
28
29
30
31
32
33
34
35
36
37
38
39
40
41
42
43
44
45
46
47
48
49
50
51
52
53
|
public class MyStack {
private T[] elem;//数组
private int top;//当前可以存放数据元素的下标-》栈顶指针
public MyStack() {
this.elem = (T[])new Object[10];
}
/**
* 入栈操作
* @param item 入栈的元素
*/
public void push(T item) {
//1、判断当前栈是否是满的
if(isFull()){
this.elem = Arrays.copyOf(this.elem,2*this.elem.length);
}
//2、elem[top] = item top++;
this.elem[this.top++] = item;
}
public boolean isFull(){
return this.elem.length == this.top;
}
/**
* 出栈
* @return 出栈的元素
*/
public T pop() {
if(empty()) {
throw new UnsupportedOperationException("栈为空!");
}
T ret = this.elem[this.top-1];
this.top--;//真正的改变了top的值
return ret;
}
/**
* 得到栈顶元素,但是不删除
* @return
*/
public T peek() {
if(empty()) {
throw new UnsupportedOperationException("栈为空!");
}
//this.top--;//真正的改变了top的值
return this.elem[this.top-1];
}
public boolean empty(){
return this.top == 0;
}
}
|
|
1
2
3
4
5
6
7
8
9
10
11
12
13
14
15
16
17
18
19
20
21
22
|
public static void main(String[] args) {
MyStack myStack = new MyStack<>();
myStack.push(1);
myStack.push(2);
myStack.push(3);
System.out.println(myStack.peek());
System.out.println(myStack.pop());
System.out.println(myStack.pop());
System.out.println(myStack.pop());
System.out.println(myStack.empty());
System.out.println("============================");
MyStack myStack2 = new MyStack<>();
myStack2.push("hello");
myStack2.push("word");
myStack2.push("thank");
System.out.println(myStack2.peek());
System.out.println(myStack2.pop());
System.out.println(myStack2.pop());
System.out.println(myStack2.pop());
System.out.println(myStack2.empty());
}
|
二,队列
1,概念

像移动、联通、电信等客服电话,客服人员与客户相比总是少数,在所有的客服人员都占线的情况下,客户会被要求等待,直到有某个客服人员空下来,才能让最先等待的客户接通电话。这里也是将所有当前拨打客服电话的客户进行了排队处理。
操作系统和客服系统中,都是应用了种数据结构来实现刚才提到的先进先出的排队功能,这就是队列。
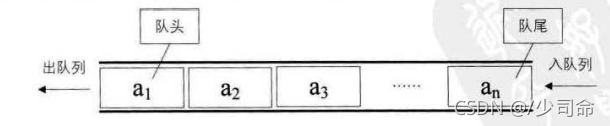
队列(queue) 是只允许在一端进行插入操作,而在另一端进行删除操作的线性表
队列:只允许在一端进行插入数据操作,在另一端进行删除数据操作的特殊线性表,队列具有先进先出FIFO(First In First Out) 入队列:进行插入操作的一端称为队尾(Tail/Rear) 出队列:进行删除操作的一端称为队头 (Head/Front)
2,队列的实现
①入队
|
1
2
3
4
5
6
7
8
|
public static void main(String[] args) {
Deque queue = new LinkedList<>();
queue.offer(1);
queue.offer(2);
queue.offer(3);
queue.offer(4);
}
|
②出队
|
1
2
3
4
5
6
7
8
9
10
|
public static void main(String[] args) {
Deque queue = new LinkedList<>();
queue.offer(1);
queue.offer(2);
queue.offer(3);
queue.offer(4);
System.out.println(queue.poll());
System.out.println(queue.poll());
}
|
③获取队首元素
|
1
2
3
4
5
6
7
8
9
10
11
|
public static void main(String[] args) {
Deque queue = new LinkedList<>();
queue.offer(1);
queue.offer(2);
queue.offer(3);
queue.offer(4);
System.out.println(queue.poll());
System.out.println(queue.poll());
System.out.println("-----------------");
System.out.println(queue.peek());
}
|
3,实现myqueue
|
1
2
3
4
5
6
7
8
9
10
11
12
13
14
15
16
17
18
19
20
21
22
23
24
25
26
27
28
29
30
31
32
33
34
35
36
37
38
39
40
41
42
43
44
45
46
47
48
49
50
51
52
53
54
55
56
57
58
|
class Node {
private int val;
private Node next;
public int getVal() {
return val;
}
public void setVal(int val) {
this.val = val;
}
public Node getNext() {
return next;
}
public void setNext(Node next) {
this.next = next;
}
public Node(int val) {
this.val = val;
}
}
public class MyQueue {
private Node first;
private Node last;
//入队
public void offer(int val) {
//尾插法 需要判断是不是第一次插入
Node node = new Node(val);
if(this.first == null) {
this.first = node;
this.last = node;
}else {
this.last.setNext(node);//last.next = node;
this.last = node;
}
}
//出队
public int poll() {
//1判断是否为空的
if(isEmpty()) {
throw new UnsupportedOperationException("队列为空!");
}
//this.first = this.first.next;
int ret = this.first.getVal();
this.first = this.first.getNext();
return ret;
}
//得到队头元素但是不删除
public int peek() {
//不要移动first
if(isEmpty()) {
throw new UnsupportedOperationException("队列为空!");
}
return this.first.getVal();
}
//队列是否为空
public boolean isEmpty() {
return this.first == null;
}
}
|
|
1
2
3
4
5
6
7
8
9
10
11
12
|
public static void main(String[] args) {
MyQueue myQueue = new MyQueue();
myQueue.offer(1);
myQueue.offer(2);
myQueue.offer(3);
System.out.println(myQueue.peek());
System.out.println(myQueue.poll());
System.out.println(myQueue.poll());
System.out.println(myQueue.poll());
System.out.println(myQueue.isEmpty());
}
|

|