从 github 下载 https://github.com/acheong08/ChatGPT 环境配置 conda 创建虚拟环境 我选择用anaconda先配一个专属的环境 1 conda create -n chatgpt python=3.6 1 2 3 # 激活虚拟环境 conda activate 如果不行就用 s
从 github 下载https://github.com/acheong08/ChatGPT 环境配置conda 创建虚拟环境我选择用 anaconda 先配一个专属的环境
官方步骤配置环境按照 官方给出的步骤https://github.com/acheong08/ChatGPT/wiki/ 配置环境 安装 revChatGPT这个过程强烈 建议使用手机开热点下载 不然可能非常慢
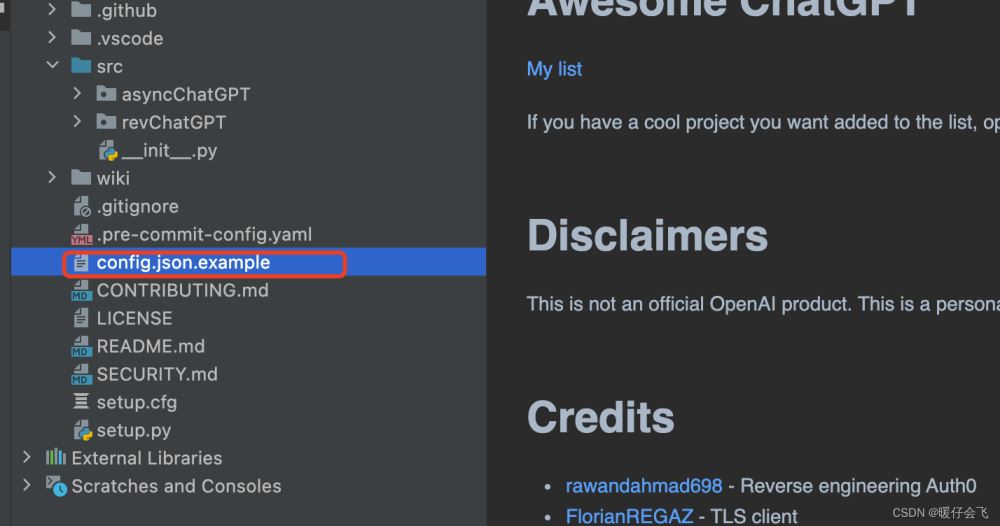
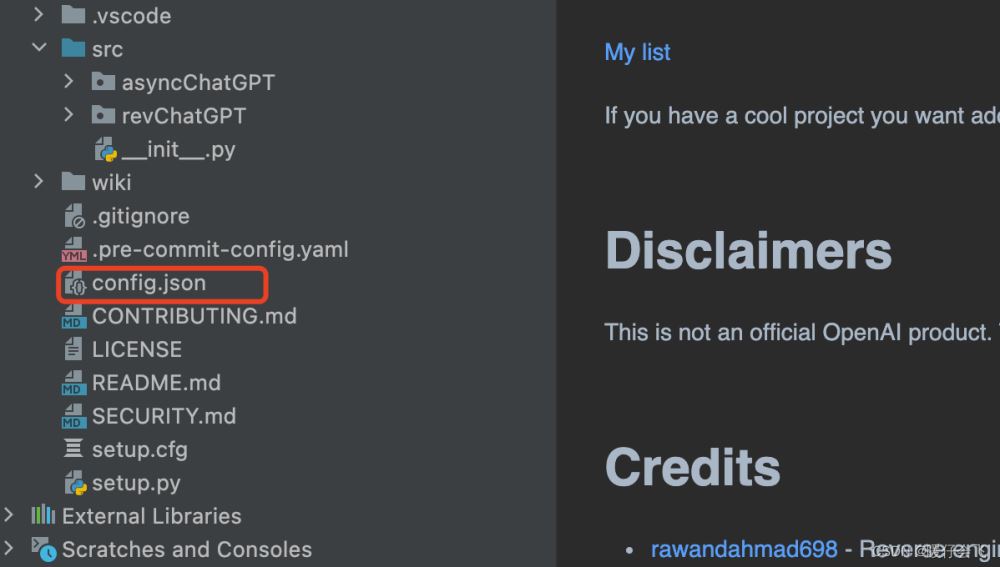
更改 config.json.example -> config.json
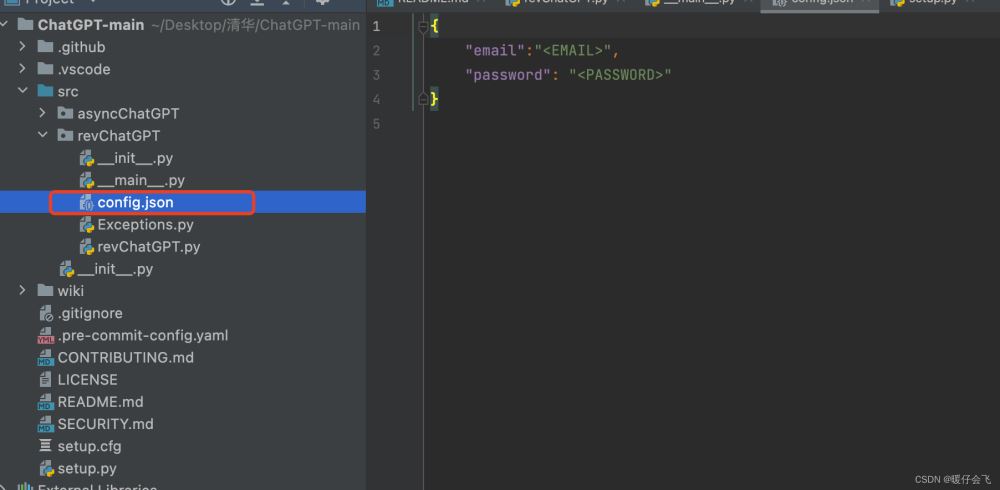
将 config.json 移动到 revChatGPT 路径下
cookie 信息写入 config.json
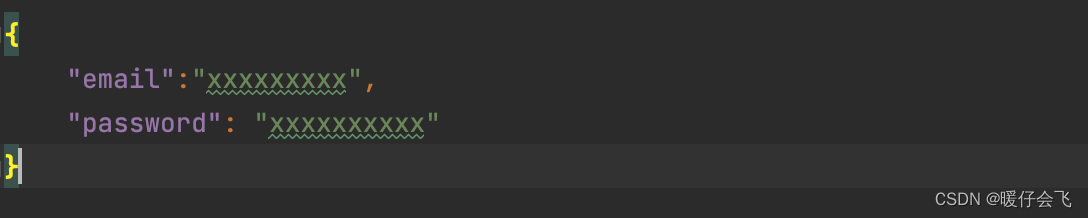
方式1:使用账号密码作为登录的方法
方式2: 使用 session_token 作为登录方法
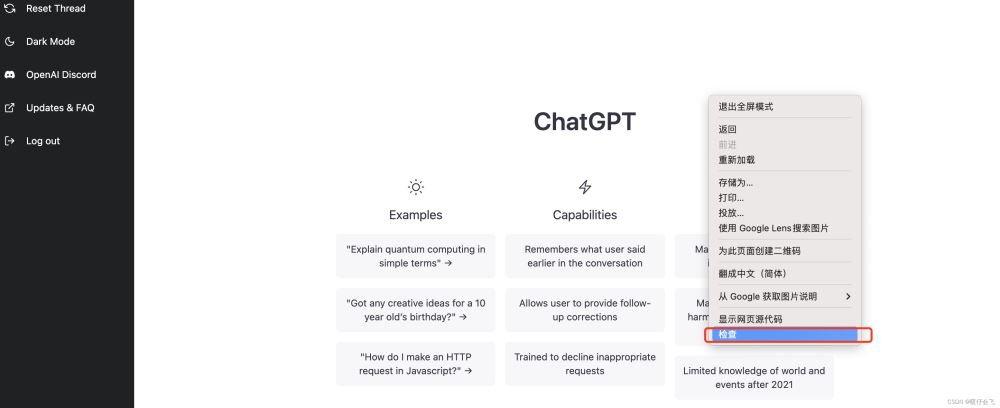
右键,打开检查:
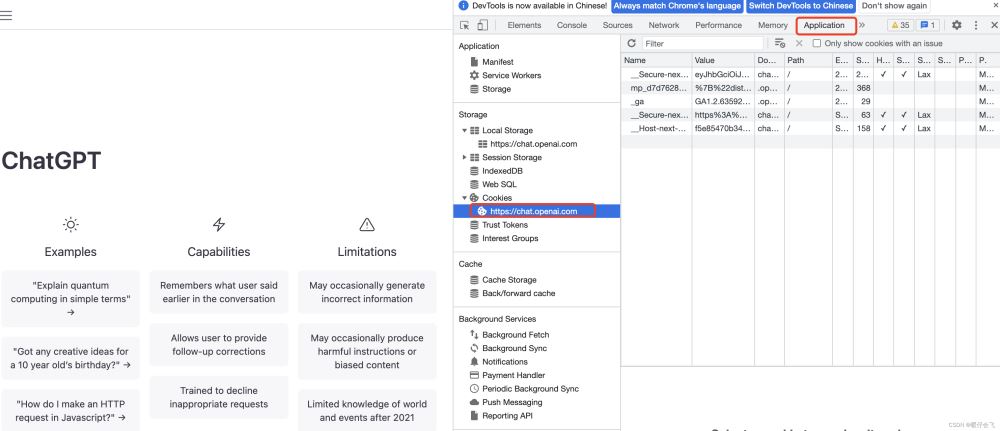
Application -> Cookies
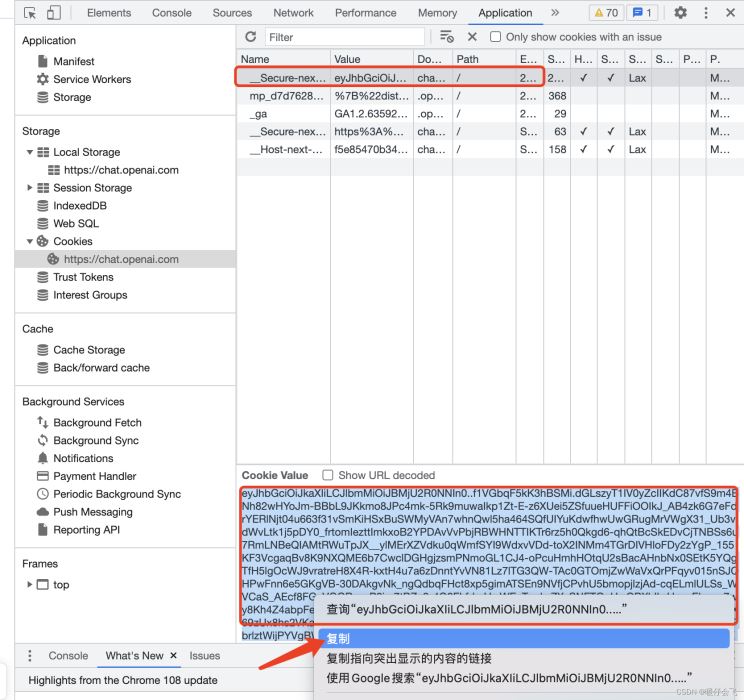
将 __Secure-next-auth.session-token 中的内容复制到 config.json 中的 session_token
将 config.json 文件中的字段给改成如下形式(Authorization)字段不需要填写:
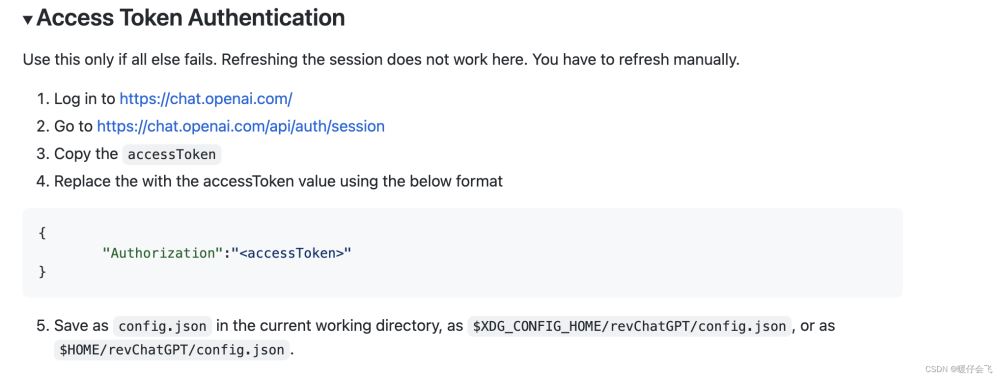
方式3:使用 Access Token 作为登录方式
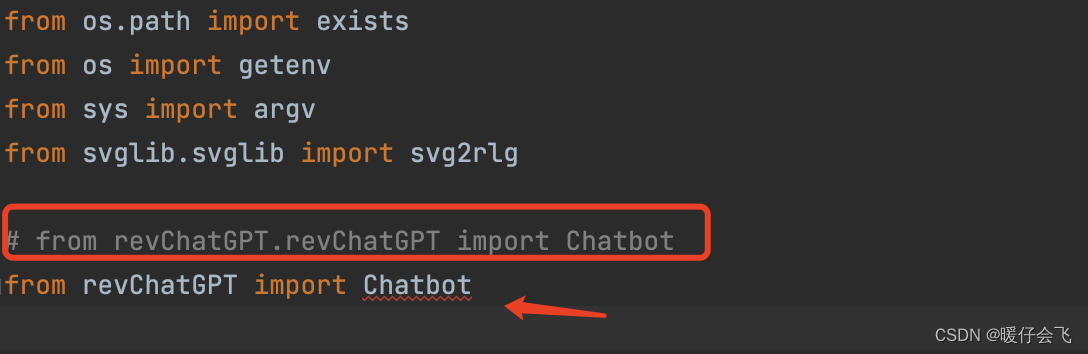
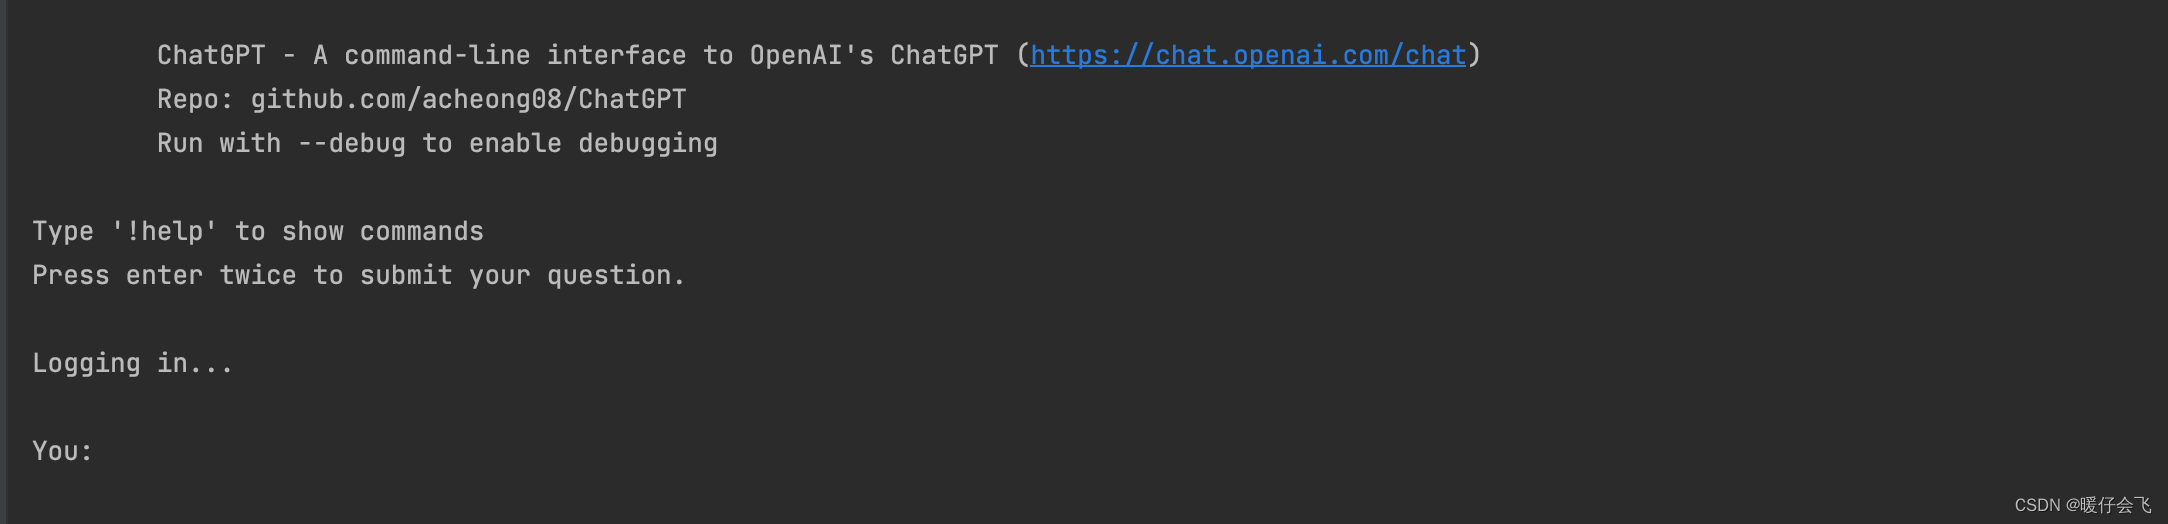
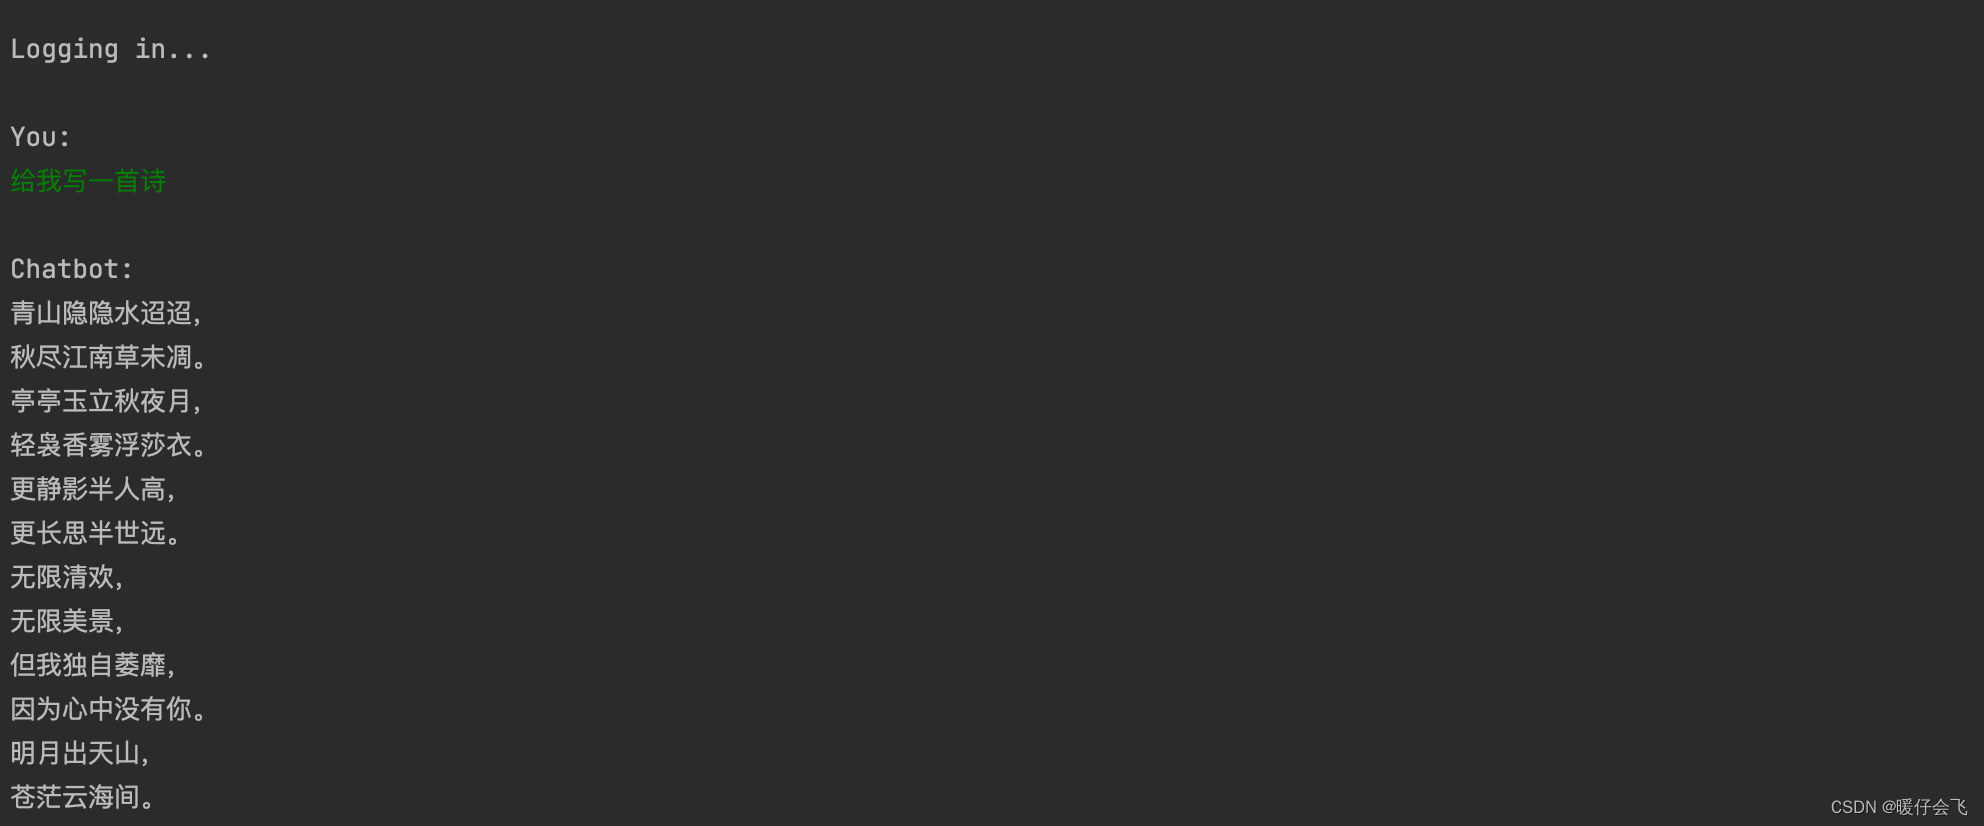
运行 main.py
通过API 调用 官方给出的 开发文档https://github.com/acheong08/ChatGPT/wiki/Developer-Docs |


2022-04-23
2022-10-16
2022-08-26
2020-04-20
2021-01-20