Nginx集成到Windows服务
nginx版本:nginx-1.20.2;
windows版本:win11,将nginx解压,要保证nginx的目录不含空格
下载winsw
下载地址为:
官方地址:https://repo.jenkins-ci.org/artifactory/releases/com/sun/winsw/winsw/
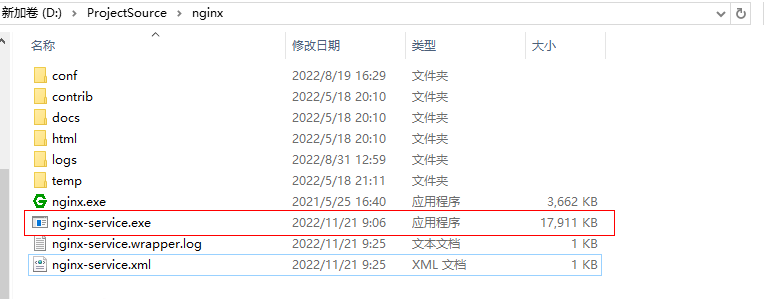
将winsw-2.9.0-bin.exe复制
到nginx目录下,并重命名为nginx-service.exe
在nginx目录下新增文件nginx-service.xml
内容为:
|
1 2 3 4 5 6 7 8 9 10 11 12 13 14 15 |
<?xml version="1.0" encoding="UTF-8" ?> <service> <id>nginx-local</id> <name>nginx-local</name> <description>High Performance Nginx Service</description> <logpath>D:\localservice\logs</logpath> <log mode="roll-by-size"> <sizeThreshold>10240</sizeThreshold> <keepFiles>8</keepFiles> </log> <executable>D:\localservice\nginx.exe</executable> <startarguments>-p D:\localservice</startarguments> <stopexecutable>D:\localservice\nginx.exe</stopexecutable> <stoparguments>-p D:\localservice -s stop</stoparguments> </service> |
在nginx目录下
新增文件nginx-service.exe.xml
|
1 2 3 4 5 6 7 8 9 10 |
<?xml version="1.0" encoding="UTF-8" ?> <configuration> <startup> <supportedRuntime version="v2.0.50727" /> <supportedRuntime version="v4.0" /> </startup> <runtime> <generatePublisherEvidence enabled="false" /> </runtime> </configuration> |
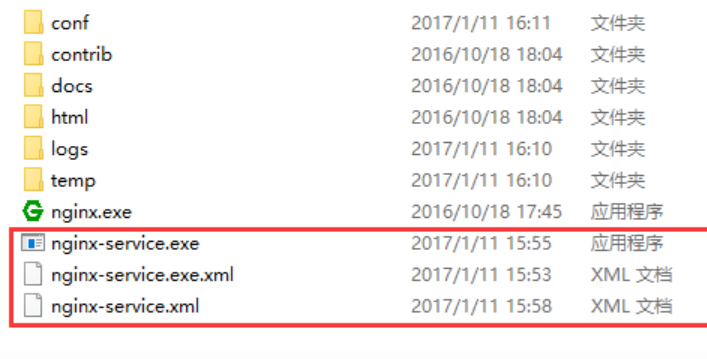
完成后的目录结构如下:
以管理员身份打开cmd
输入:nginx-service.exe install
执行完成后nginx就增加到windows服务中,服务名称为nginx
如果想删除nginx服务
在cmd窗口中执行:SC delete nginx